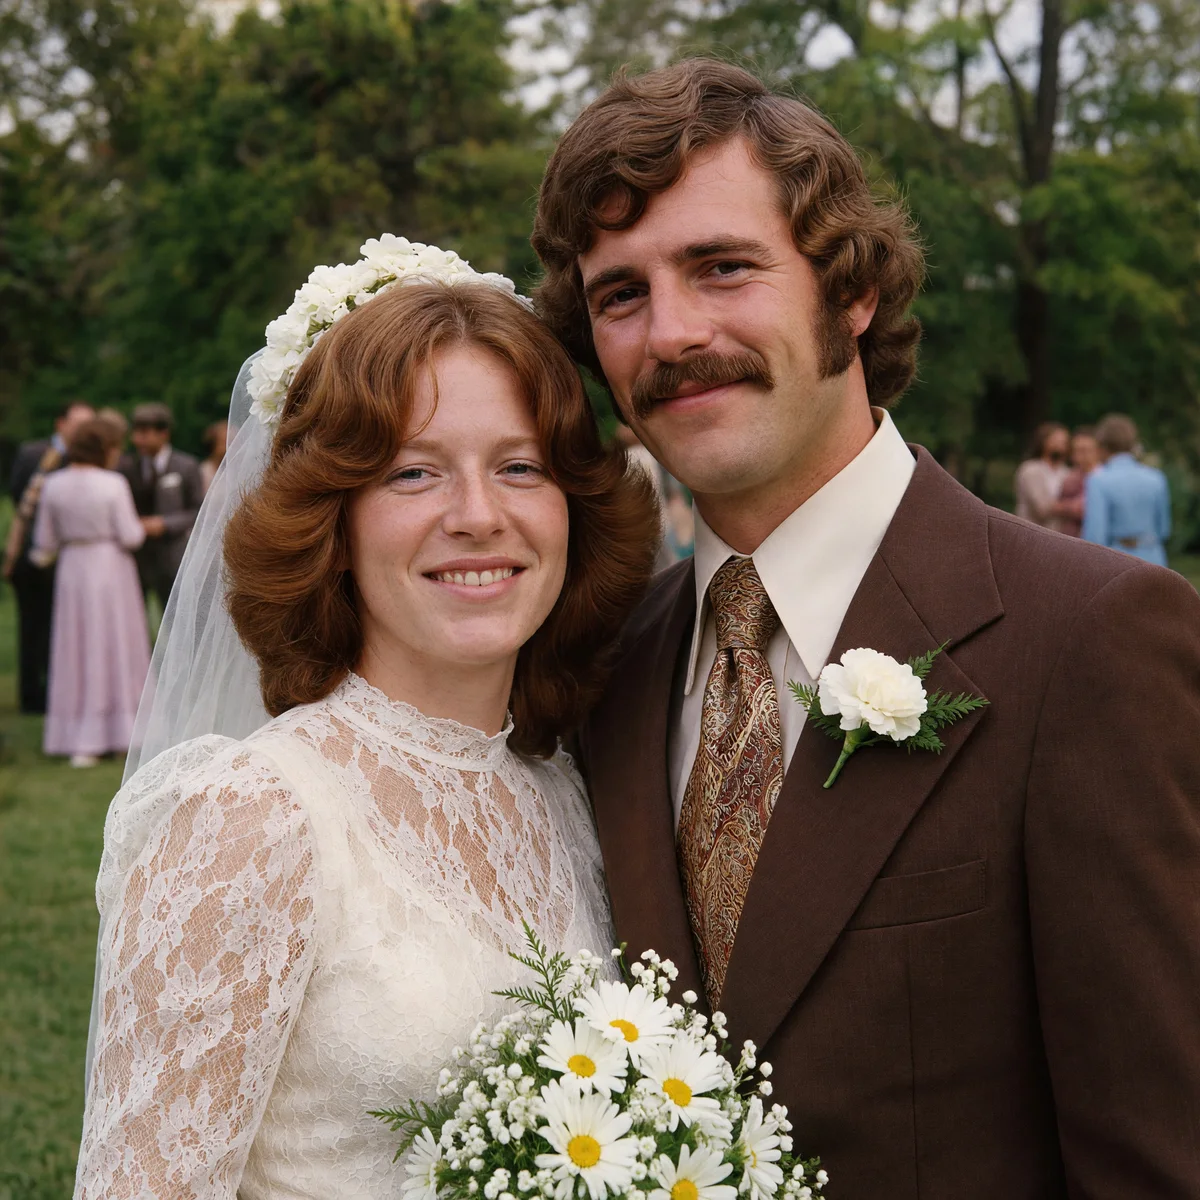
Batch photo restoration is a workflow for repairing a collection of photographs together while keeping control over individual images. Instead of opening every scan in a separate editor, you upload a group of files, review the recommended treatment for each photograph, process the selection and download an organized set of results.
It is particularly useful for photo labs, scanning services, retouchers and people digitizing family albums. The important distinction is not simply that many files can be uploaded. A useful professional workflow also keeps filenames understandable, allows different modes within a job and makes unsuccessful results easy to identify.
Who benefits from professional batch photo restoration?
For a scanning service, restoration is a stage after digitization, not a replacement for a good scan. A customer may bring several albums containing clean portraits, badly scratched prints, fading color photographs and newspaper reproductions. Sending every image through the strongest treatment would be convenient, but it would not necessarily produce the most faithful collection.
Photo labs can use batch processing to handle routine preparation before a human checks the difficult images. Independent retouchers can separate work that benefits from automatic cleanup from work requiring detailed manual reconstruction. Family historians can prepare readable copies for relatives while retaining original scans as reference files.
Historical organizations need a particularly clear separation between a documentary master and an interpreted restoration. A cleaner face or a plausible uniform detail is not proof that the newly generated detail existed in the original photograph. Keep that distinction visible in your own catalog and delivery process.
Prepare the source files before uploading
Start with the best available source
If you have access to the physical print, a careful scan is usually a better starting point than a small image copied from a messenger conversation. Check the scanner glass, keep the photograph flat where it is safe to do so and inspect the scan for glare, cut-off edges and unwanted rotation. Avoid repeatedly saving the same JPEG at low quality before restoration.
Do not overwrite the source. Store a separate master copy and work on a duplicate collection. For professional deliveries, retain any archival master format you already use; accepting a TIFF input does not mean that an online processing service preserves every layer, bit-depth setting or color profile from that file.
Use filenames that still make sense after export
Names such as family-album-01-page-003.jpg or client-042-portrait-017.tif are easier to track than unrelated camera filenames. You do not have to rename every file, but avoid several different originals with exactly the same name in the same folder. Keep a simple naming convention for the batch itself, such as a customer reference and date.
A ZIP is useful when you want to keep related folders together. Include the images needed for this job rather than an entire working drive with documents, thumbnails and previous exports. Hidden operating-system files are not photographs and should not be part of your delivery checklist.
Up to 500 photos, up to 250 MB per batch and up to 25 MB per source image. JPEG, PNG, WebP, BMP, TIFF, AVIF, GIF and HEIC/HEIF inputs are supported. Split a collection into several clearly named jobs if it exceeds a limit.
Restoration, colorization and enhancement solve different problems
Restoration focuses on visible damage and degradation: scratches, tears, stains, fading and weak detail. Enhancement focuses on the quality of an already digital image, such as low resolution or compression. Colorization introduces color into a monochrome image. These tasks may overlap, but they are not interchangeable.
In the Logowski restoration tool, analyze the files first, then inspect the suggested mode for each photograph. Standard restoration is a sensible starting point for an ordinary damaged scan. PRO output options are available for more demanding restoration or larger output needs. A higher-resolution option should be chosen because the image and delivery require it, not merely because it is the largest number.
The Restore colors control lets you decide whether to introduce color. Keep it off when you want a black-and-white result. For historical work, generated color should be treated as a plausible interpretation unless clothing, materials and other colors are independently documented. Restoration can make an image easier to view without needing to change its monochrome character.
Before-and-after restoration examples
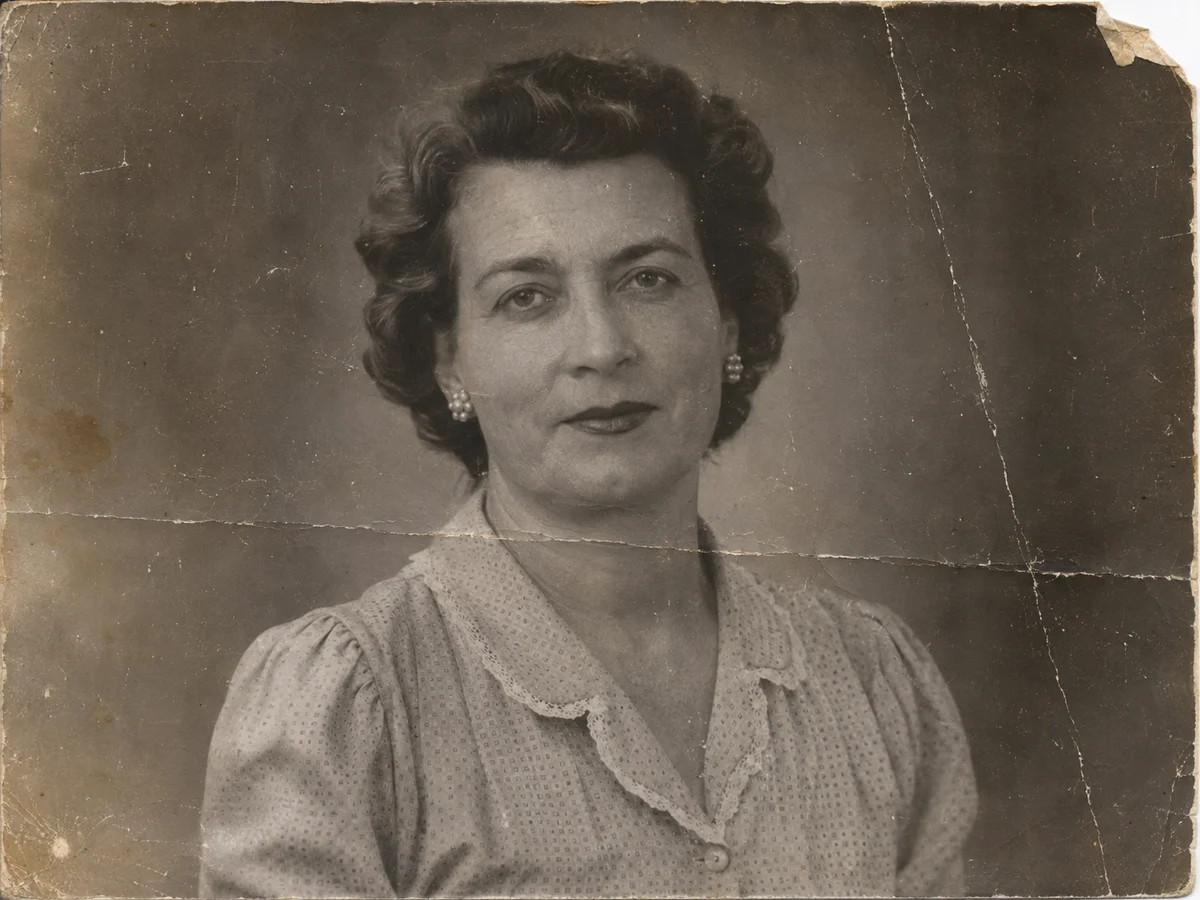
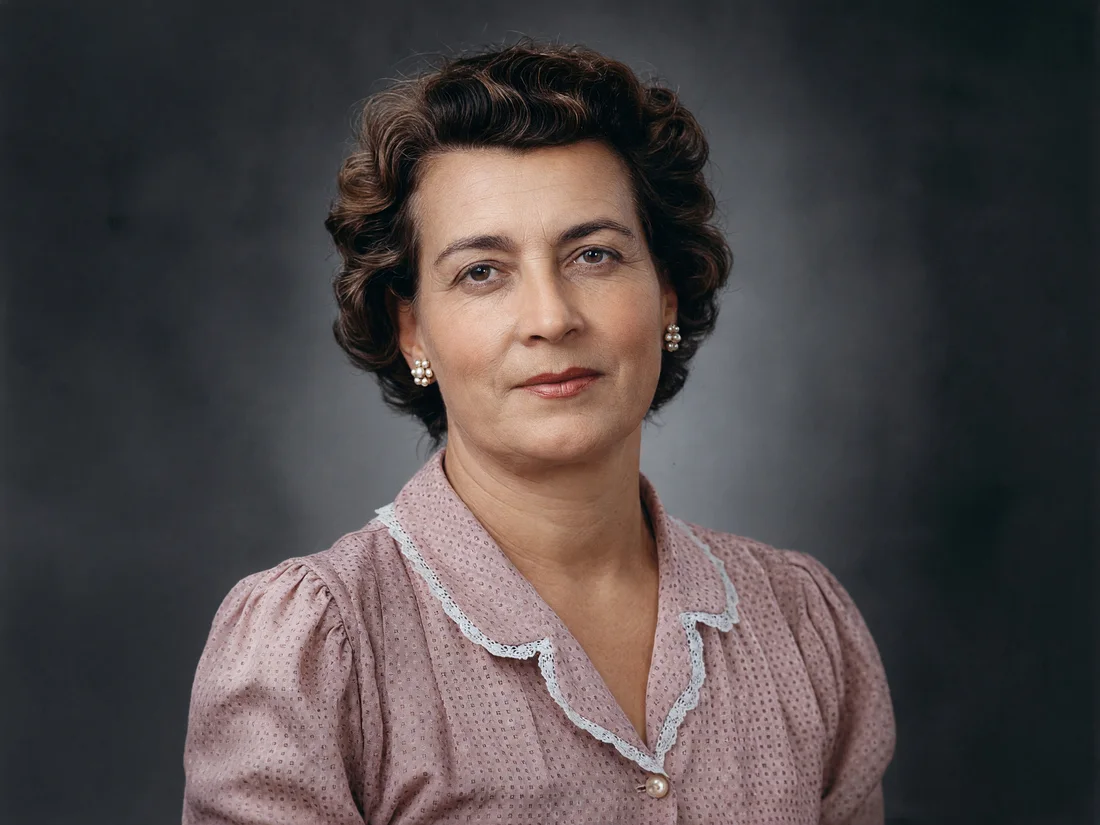
The following examples are demonstrations, not customer case studies or authenticated historical records. The source images illustrate particular defects, and the results were processed through Logowski. They show the kind of changes to inspect; they are not a guarantee that every damaged photograph will produce the same outcome. Open a result to inspect it at a larger size.
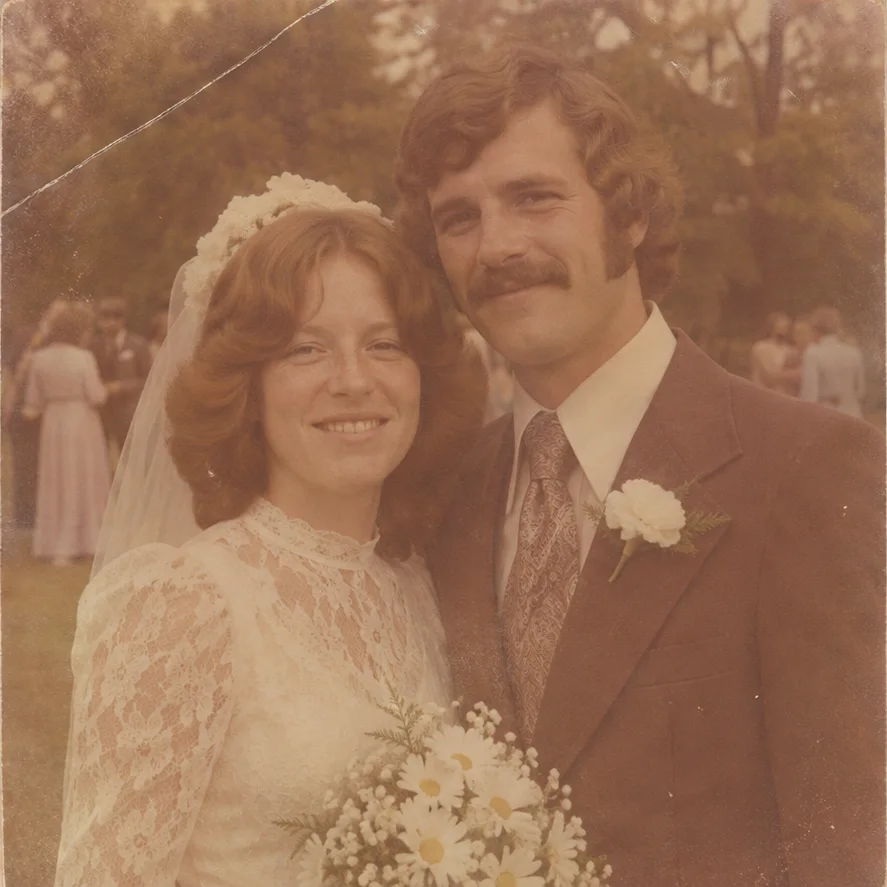
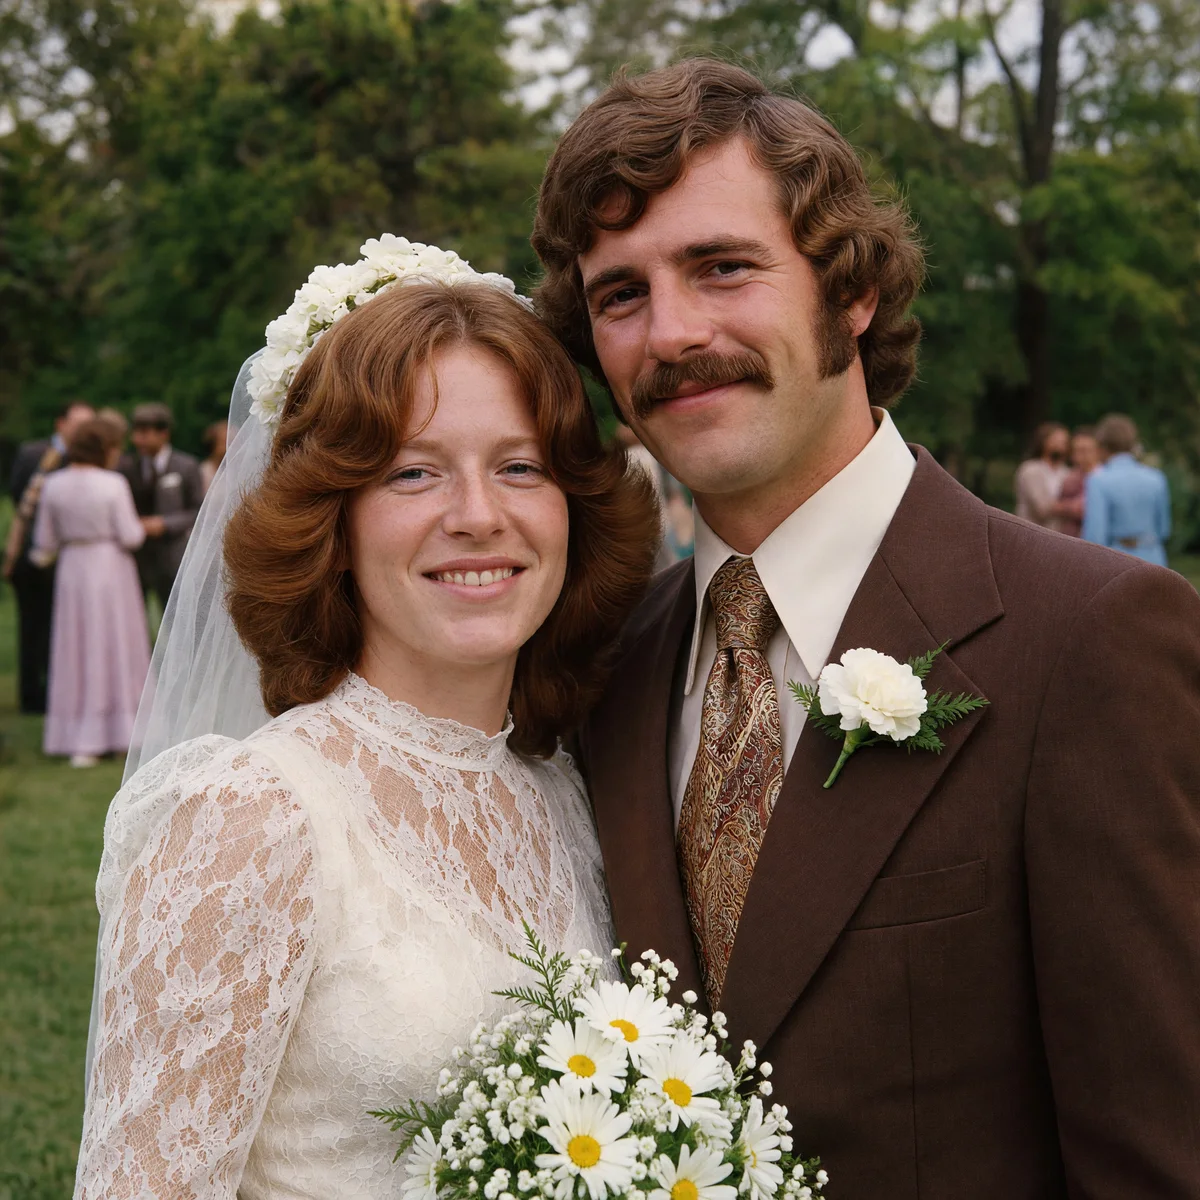
A wedding or group photograph can look dramatically clearer at thumbnail size while still containing local inconsistencies. Compare the shape of eyes, jewelry, collars and fingers. These are useful checkpoints because small changes may be easy to miss when the whole image looks more polished.
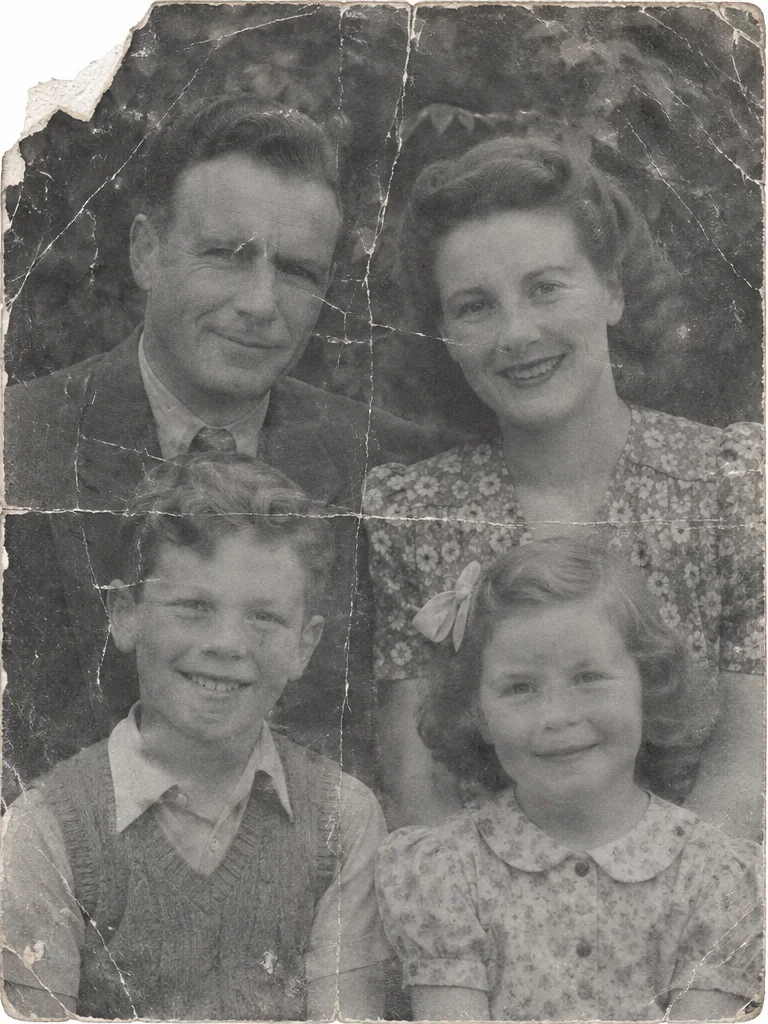
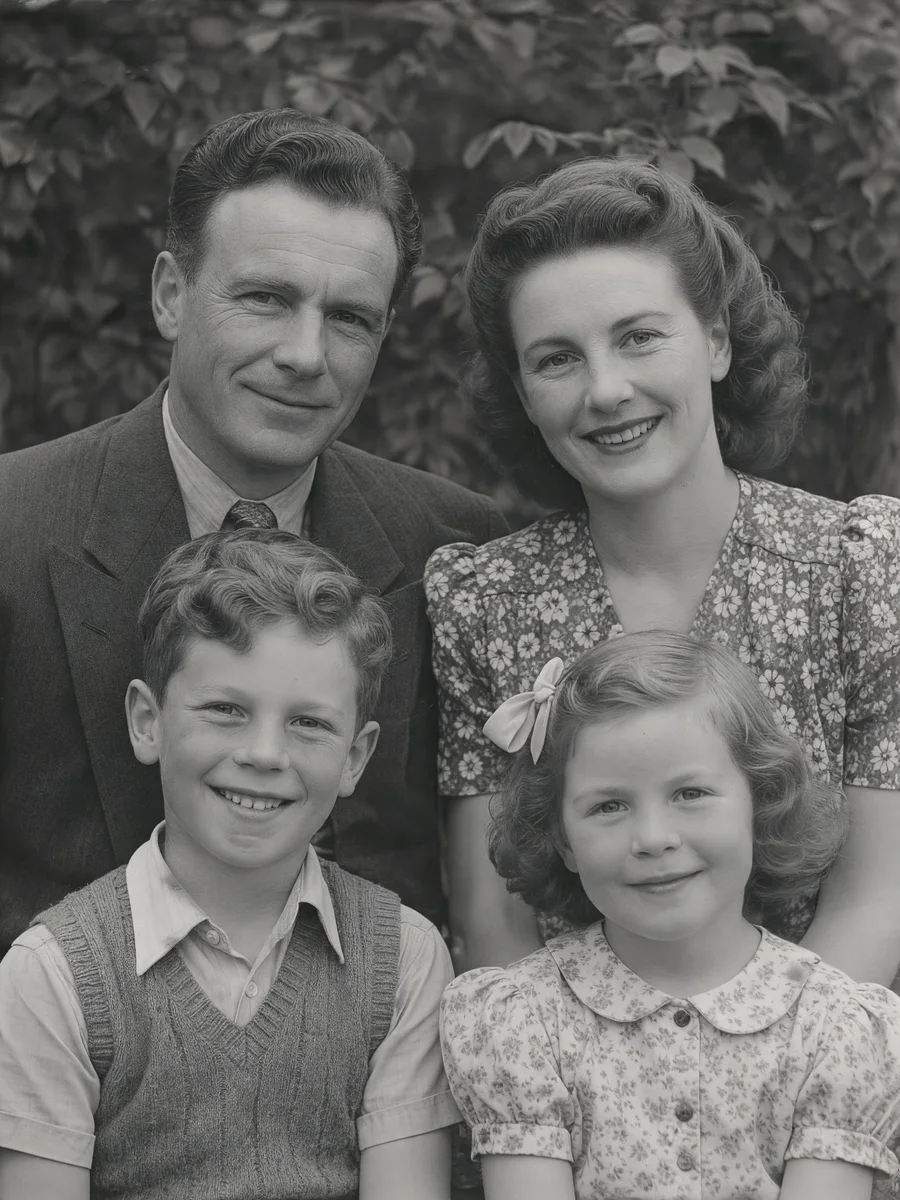
For an image with several people, examine every face rather than only the most prominent person. Check the boundaries where damage crossed clothing or skin. Retaining some authentic photographic grain can be preferable to a very smooth finish that makes an old image look newly manufactured.
A repeatable workflow for a large archive
- Define the delivery. Decide whether the customer needs viewing copies, print preparation, restored monochrome images or colorized interpretations.
- Test representative files. Include a clean scan, a faded print, a scratched portrait and the most difficult image. Do not approve a large job based only on its easiest photograph.
- Upload a named batch. Use individual files or a ZIP and check the filenames and previews before analysis.
- Review recommendations. Confirm each mode and the colorization choice. Remove files that do not belong in the job.
- Review the total. The interface shows the credit requirement before processing. Analyze first, then sign in when you are ready to start.
- Process and inspect. Review the status of each image and inspect important results at full size.
- Deliver organized results. Download individual files or the completed ZIP. Export the separate Excel-compatible job report for your own production records.
For repeat customers, write down the approved treatment in a job note outside the tool as well. An instruction such as “retain monochrome, moderate cleanup, preserve visible grain” is more useful than “make everything better.” Consistent instructions help the person checking the output judge whether a result meets the brief.
What to check before approving restored photos
Inspect the result at both normal viewing size and a close view. At normal size, check the composition, overall contrast and whether the photograph still feels natural. At a close view, check faces, hairlines, fingers, repeated textures, lettering and edges where scratches or tears were repaired.
Separate “more attractive” from “more accurate.” Stronger eyes, cleaner skin or a redesigned texture can make a result more striking without making it a faithful record. This matters for family likenesses as well as for historical photographs. If a detail is important and the source is ambiguous, keep the source available and ask for human review rather than assuming the cleanest version is correct.
For print work, check actual pixel dimensions and your intended print size. A label such as 4K or 8K is not, by itself, proof of print suitability. Review the exported image, the material you will print on and the level of detail visible at the intended viewing distance.
Common mistakes to avoid
- Applying the strongest mode to every image without a sample review.
- Colorizing a historical collection without recording that color was introduced.
- Using a tiny compressed preview when a better original scan is available.
- Assuming that support for an input format guarantees identical output metadata or bit depth.
- Renaming results so completely that they can no longer be matched to the source files.
- Treating an online archive as the only backup of a customer’s original photographs.
Temporary Logowski uploads are deleted after two hours. Keep your own originals and download your approved results as part of the job. My Archive helps you navigate saved batches, but your professional backup process should remain under your control.
Frequently asked questions
Can I restore hundreds of photos at once?
Yes. Logowski accepts up to 500 photos in a batch, subject to the 250 MB upload limit and the 25 MB per-image limit. A large collection can be divided into smaller jobs with clear names.
Does batch processing apply the same restoration to every image?
No. The analyzer provides a recommendation per file, and you can change individual modes before processing. This is useful for mixed collections containing clean scans, faded prints and heavily damaged photographs.
Can I restore photos without colorizing them?
Yes. Keep Restore colors off if you want monochrome output. Check the resulting image before delivery, especially when a historically faithful appearance matters.
Can AI recover the original face exactly?
It can improve visible facial detail, but missing information may be reconstructed. Do not assume that a new detail is historically accurate. Compare likenesses carefully and preserve the original scan as the reference.
Is analysis free, and when do I need an account?
Photo analysis is free. Sign in before starting processing. Eligible new accounts receive 10 trial credits; processing beyond the available balance requires additional credits. Check the interface for the exact job total.
Can I download individual files and a ZIP?
Yes. Completed images can be downloaded individually or as an organized ZIP. A separate Excel-compatible job report helps you track the chosen modes and processing statuses.
What should I do if a result is unsuccessful?
Check whether a better source is available and whether the selected treatment suits the defect. Download the successful files, then place the files you want to retry in a new batch. Severe damage may need manual retouching outside an automatic workflow.
When should I use enhancement instead of restoration?
Use enhancement when the main problem is low resolution, noise, compression or mild blur rather than physical damage to a scan. Read the batch enhancement guide for examples and a quality-control checklist.
For digital files with quality problems rather than tears or scratches, continue with our practical guide to batch photo enhancement. The best workflow is the one that matches the problem, preserves the source and makes the final result easy to check.
Start with a small, representative batch
Analyze your files, review the suggested modes and check the credit total before processing.
Restore photos View credits and plans