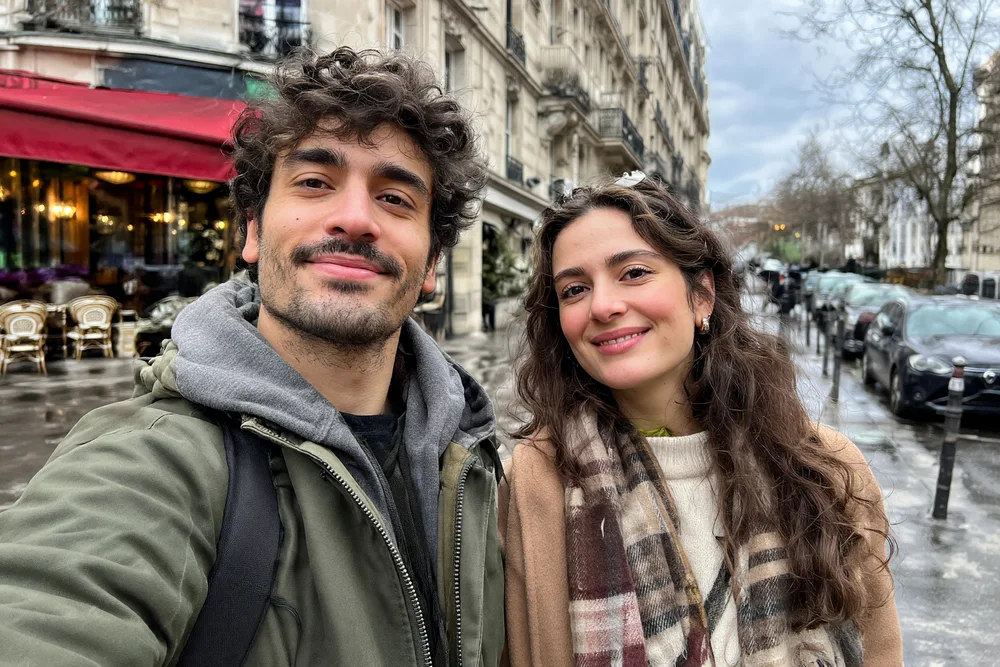
Batch photo enhancement improves a collection of digital images in one organized workflow. It can address low resolution, weak color, noise, compression and some forms of blur. The useful professional approach is to review the needs of each image, choose an appropriate mode and check the results before publishing or delivering them.
A batch tool is not simply a larger upload button. When a job contains hundreds of files, filenames, processing status, output consistency and downloadable results become part of image quality too. This guide explains how to organize that work and how to judge whether the enhanced image is genuinely more useful.
Enhancement is not the same as making a file larger
Upscaling increases pixel dimensions. Enhancement is a broader task: an image may also need cleaner noise, fewer compression artifacts, better color balance or more usable sharpness. A large image can still be blurry, and a smaller image can already be perfectly suitable for its intended placement.
Restoration is related but usually starts from a different problem. An old scan with scratches, tears and stains calls for damage repair. A recent JPEG with a small resolution or heavy compression calls for an enhancement workflow. When both problems are present, test representative images rather than assuming that one treatment will solve everything.
AI enhancement can reconstruct plausible detail that was weak or absent in the source. That can improve usability, but it is not a guarantee that every reconstructed texture, letter or facial feature matches the original scene. Keep this distinction in mind when evaluating results, particularly for evidence-sensitive images.
Who benefits from professional batch photo enhancement?
Photographers and retouchers may need to prepare an older client collection for a new website or delivery format. Content teams may receive mixed image sizes from several contributors. Ecommerce teams may need a consistent set of product photographs, while scanning services may need to improve digitized files that are clean but soft or low in contrast.
Bulk processing is useful when a repeated quality problem occurs across many files and the collection still needs human approval. It is less useful when every image needs a different creative edit, a precisely documented color workflow or substantial manual compositing. Those jobs may benefit from individual editing before or after the batch stage.
For commercial imagery, check that enhancement has not changed the product. A sharper-looking fabric, label, logo or surface texture is not an improvement if it misrepresents what a customer will receive. The same principle applies to property photography: a cleaner image should not silently redesign the room.
Prepare the batch around a clear output goal
Choose the target use first
Decide whether the images are for a product page, a large display, a family archive, a print or ordinary viewing on a phone. This prevents unnecessary processing. An image that is already clear enough for its final placement may not need an aggressive mode or the largest output option.
Use the highest-quality original you can obtain. Repeatedly downloaded previews, screenshots and messenger copies can lose information before processing even begins. If the source has already been heavily compressed, enhancement may reduce the visible defects, but it cannot establish with certainty what every missing detail originally looked like.
Organize files and check the upload size
Use a ZIP to group related folders, or upload individual files when the selection is small. Preserve meaningful filenames so that each result can be matched to the source. Remove duplicate exports and files that do not belong in the job before paying for processing.
Logowski accepts up to 500 photos and up to 250 MB in one upload, with a maximum of 25 MB per image. Supported inputs include JPEG, PNG, WebP, BMP, TIFF, AVIF, GIF and HEIC/HEIF. Divide larger collections into named jobs.
Input compatibility is not a promise of a particular professional output format. If your delivery requires a specific bit depth, embedded color profile or layered master, inspect the exported result and verify that it fits your workflow. Keep the original master files independently of the enhanced viewing or delivery copies.
Before-and-after enhancement examples
These are demonstration images with deliberately degraded sources. Every result shown below was processed through Logowski, rather than separately illustrated as an idealized “after” image. They are useful for learning what to inspect, but they do not establish a guaranteed result for every photograph.

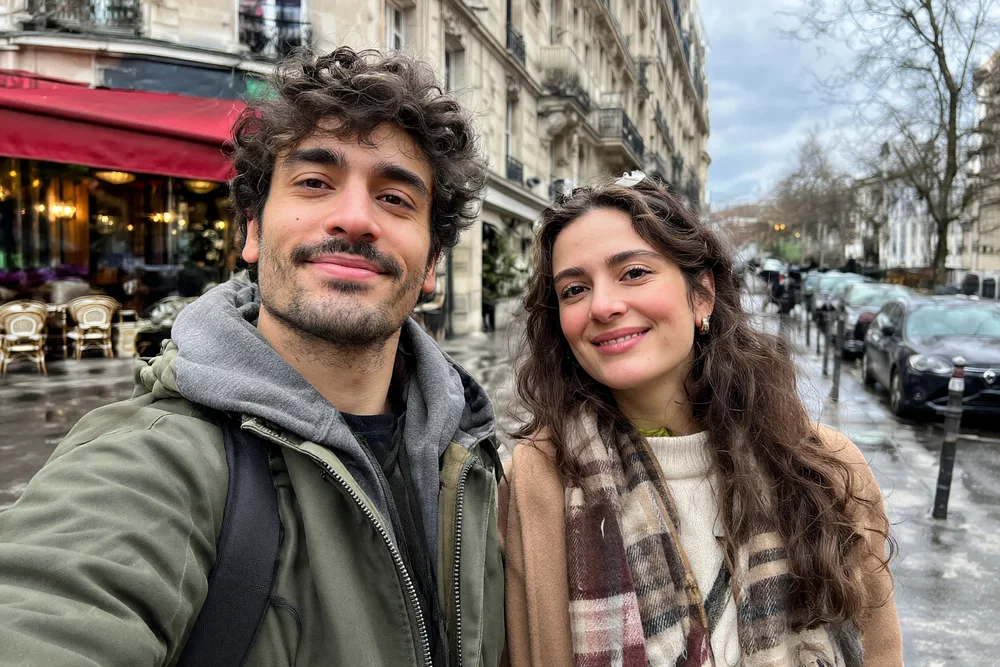
Look at faces and clothing as well as the background. A successful low-resolution result should be useful at the intended display size without introducing distracting new features. Extremely smooth skin or invented fine patterns can be a sign that the output needs closer review.
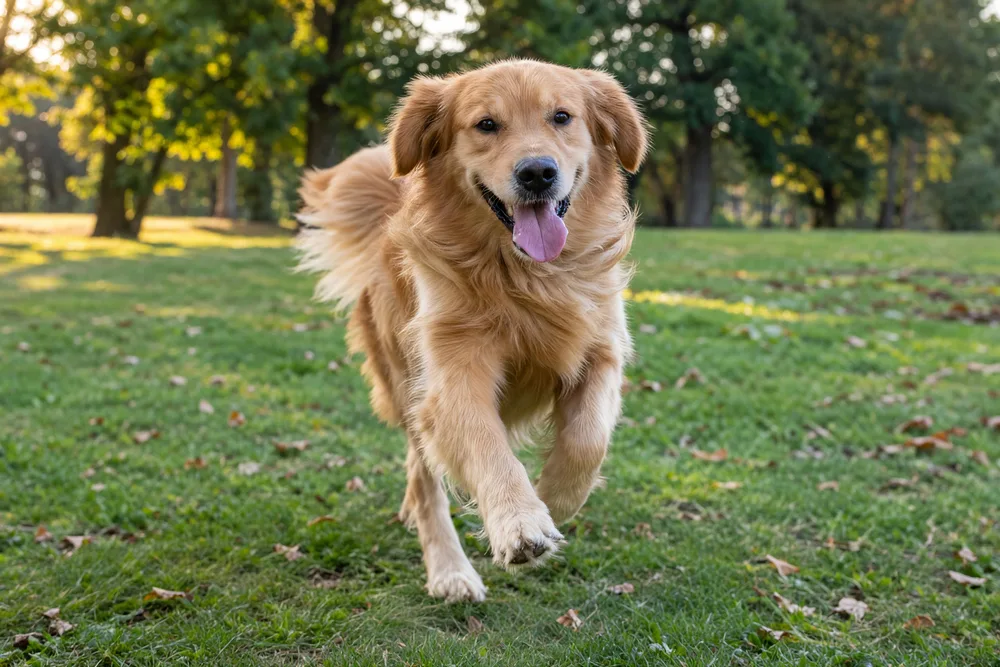
Mild softness and motion blur are different problems. A slightly soft portrait may respond well to a restrained treatment. Strong movement can obscure the original shape of an object, so apparent sharpness should not be confused with certainty about the scene.

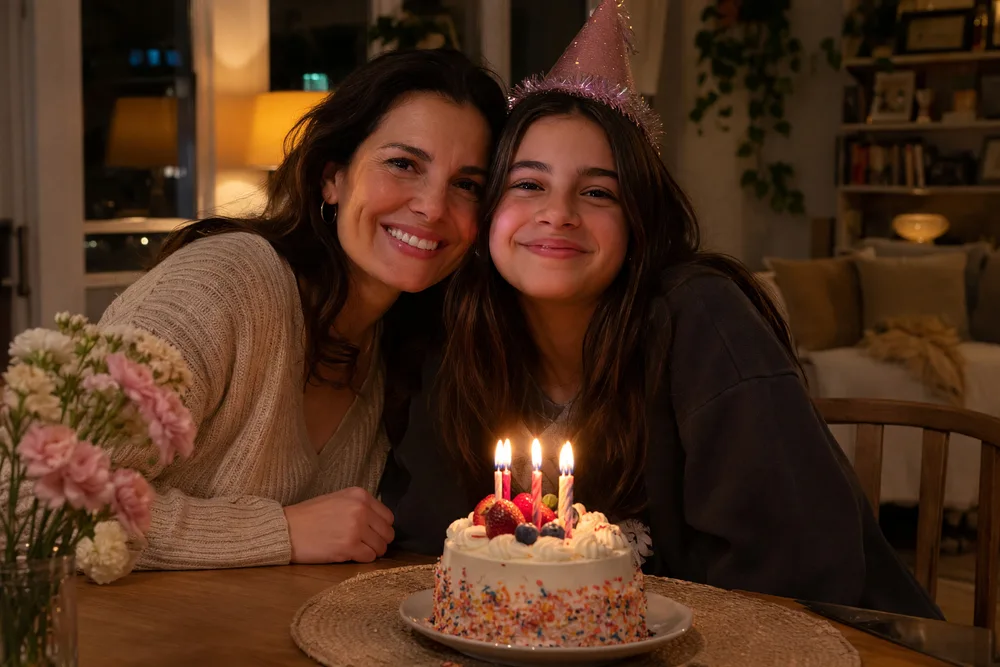
Noise reduction can improve an image dramatically, but texture still matters. Fabric, hair, foliage and skin should not all become the same smooth surface. Compare the entire image at a normal size, then inspect difficult shadow areas close up.

Choose a mode for the defect, not the whole folder
The Logowski batch enhancement tool offers Quality enhancement, Auto retouch and PRO enhancement options. Quality enhancement is useful for suitable low-resolution files. Auto retouch addresses appearance such as color and sharpness. PRO options combine retouching with higher-resolution output choices, including 4K and 8K modes.
Start with analysis and review the recommendation for each photograph. A collection can contain an already sharp product image, a compressed portrait and a blurred action shot. They do not necessarily need the same treatment. Change an individual mode when the intended delivery or your own inspection calls for it.
The tool shows the credit requirement before processing. Judge the value of a mode by whether it produces a usable result for that image, not simply by its credit cost. A more expensive mode is not automatically more appropriate for a clean file, and an inexpensive treatment may not address severe blur.
A simple production sequence
- Pick a representative sample. Include low-resolution, noisy, compressed and soft files, not only the easiest images.
- Upload and analyze. Check previews and names so that the correct files are in the job.
- Review modes and total credits. Confirm the treatment before processing begins.
- Process the batch. Use the per-file statuses to see what completed and what needs attention.
- Inspect and deliver. Open important results at full size, then download individual files or the ZIP. Export the separate Excel-compatible report for your job records.
How to check an enhanced image
Review at the size your audience will actually see. If the result will be a small website image, judge it at that size before deciding whether tiny close-up differences matter. If it will be printed or displayed large, inspect the pixel dimensions and the output at an appropriate scale.
Then check detail-sensitive areas: faces, fingers, product logos, lettering, repeated patterns, fine edges and reflective surfaces. Watch for bright halos around contrast edges, invented texture, plastic-looking skin and inconsistent background detail. Stronger contrast can create an impression of sharpness without resolving the problem you wanted to fix.
For a product catalog, compare color and material appearance across the whole set. The aim is a coherent delivery, not a collection of individually dramatic images that look as if they were photographed under unrelated conditions. If a key label or logo is not readable in the source, do not approve a newly readable version without checking it against the actual product.
Keep a simple exception workflow
Not every file should be approved automatically. Save the successful results, list the images that need another attempt and start a new batch for those files if appropriate. A new source image or a manual correction can be a better solution than repeatedly applying stronger processing to the same unsuitable input.
Keep originals and final approved files in separate locations. Temporary uploads are deleted after two hours, and an online project history should not be your only backup. Use the batch name and report to connect the downloaded results to the correct job.
Frequently asked questions
Can I enhance hundreds of photos in one job?
Yes. Logowski supports up to 500 photos, up to 250 MB per batch and up to 25 MB per source image. Use clearly named batches when a collection is larger than those limits.
Can a ZIP contain several image formats?
Yes. Supported images can be uploaded individually or inside a ZIP. Check the previews and file list after upload so that unwanted files and duplicates are not included in the processing job.
Will every image get the same enhancement mode?
No. Analysis recommends a mode for each file, and you can review and change individual choices before processing. That helps with mixed collections containing low-resolution, noisy and already clear images.
Does upscaling recover every original detail?
No. It increases usable resolution and can reconstruct plausible detail, but it cannot prove what missing pixels originally contained. Review faces, text and product-specific details rather than assuming every newly sharp feature is accurate.
Can the tool fix motion blur or missed focus?
It can improve some soft or blurred images, and PRO modes may be useful for difficult sources. Very severe blur can remain unsuitable or produce reconstructed details that need human review. Test examples similar to your actual files first.
Is the highest output option always the best choice?
No. Choose the output for the intended use and compare a representative sample. A larger file is not automatically a more faithful or more attractive result, especially when the source is already clean.
Can I try the workflow before buying credits?
Photo analysis is free. Sign in before processing. Eligible new accounts receive 10 trial credits, and the interface shows the required credit total before you start. Extra credits are available as one-time packs.
Can I download a single result instead of the full archive?
Yes. Download completed images individually or collect the batch as a ZIP. A separate Excel-compatible report records statuses and chosen modes, which is useful when you need to check exceptions or hand off the job.
If your source problem is scratches, tears or fading in an old scan, read our guide to professional batch photo restoration. Enhancement and restoration work best when each is used for the problem it is meant to solve.
Start with a small, representative batch
Analyze your files, review the suggested modes and check the credit total before processing.
Enhance photos View credits and plans