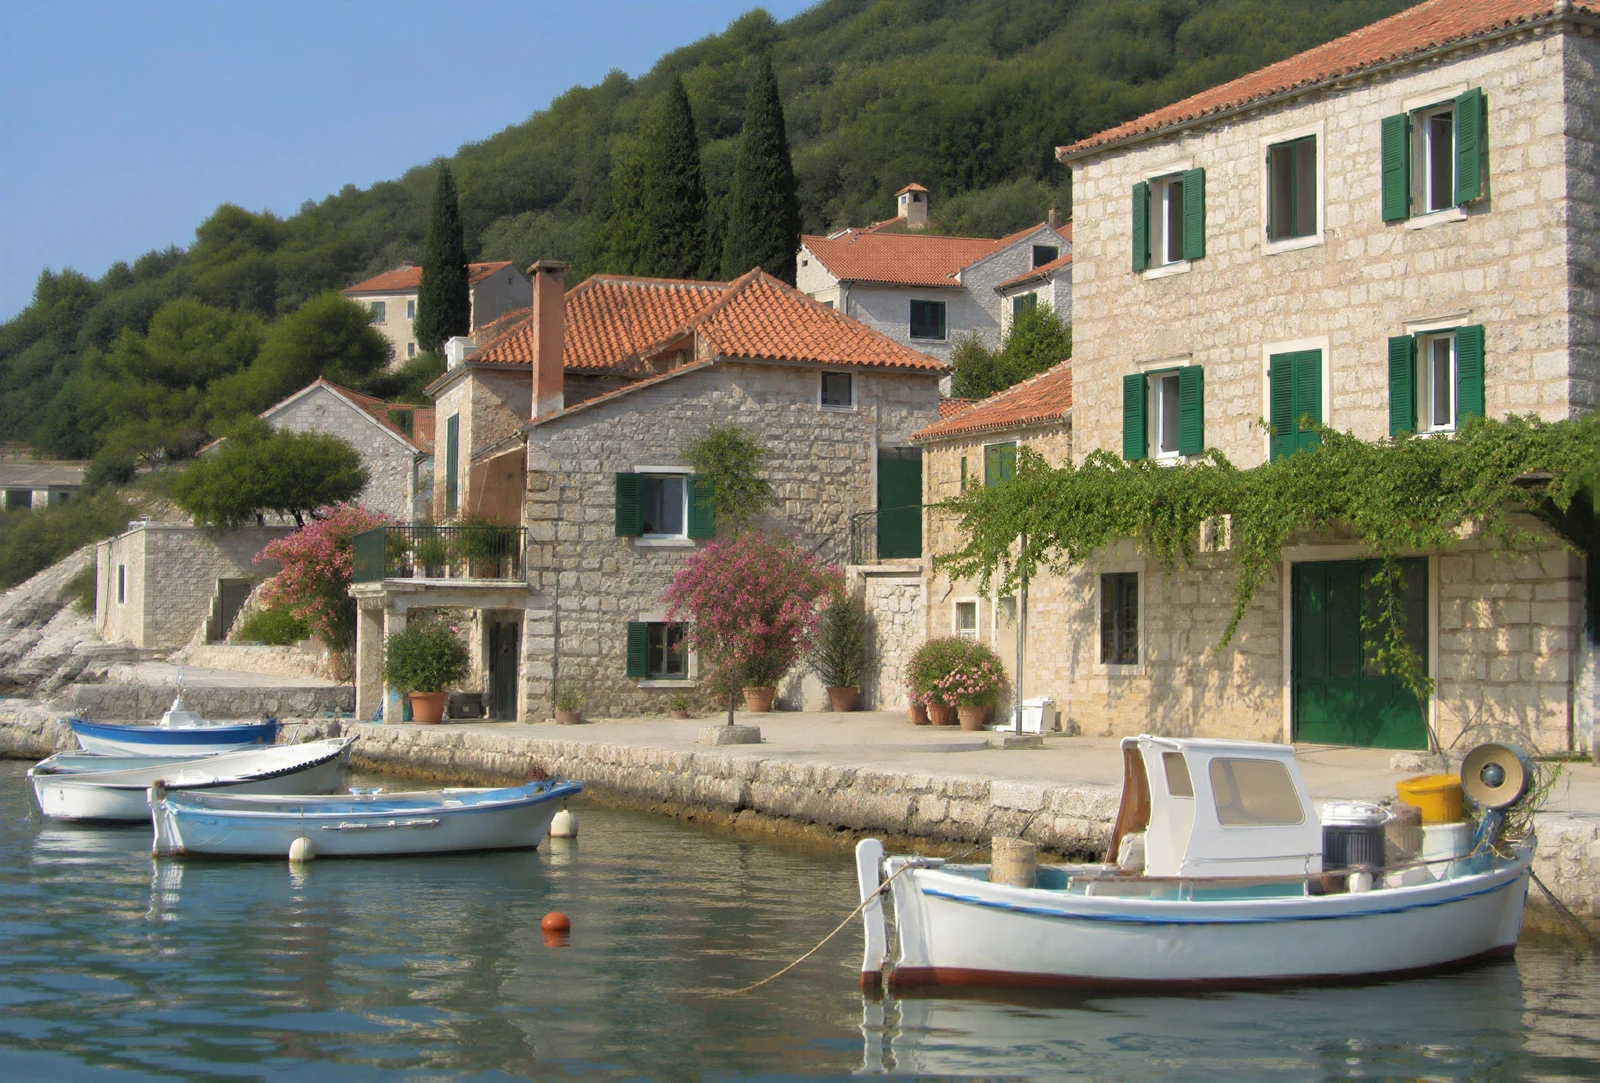
Increasing photo resolution for printing is not just a matter of changing a DPI box. A print needs enough image information for its physical size, and the quality of the original matters as much as the number of pixels in the finished file. Upscaling can help prepare a small photograph for a larger use, but it cannot turn every compressed thumbnail into a convincing poster.
This guide shows how to plan an enlargement, calculate practical pixel requirements and check the result before paying for a print. It is useful for family albums, scanned collections, photographers preparing older files and photo labs handling mixed-quality customer images. The example uses a low-detail demonstration source and a real enlargement through Logowski.
Understand pixels, PPI and physical print size
Pixel dimensions describe how many pixels an image contains: for example, 2400 by 3000. Pixels per inch, or PPI, relates those pixels to a physical output size. Divide the pixel width by the intended print width in inches to estimate the PPI available along that edge. Use the same calculation for height and remember that cropping can remove useful pixels.
For example, a 2400 by 3000 pixel file can fill an 8 by 10 inch print at 300 PPI without changing its proportions. This is arithmetic, not a quality guarantee. A heavily compressed or out-of-focus file can still look poor at those dimensions. Conversely, a print viewed from farther away may not require the same fine detail as a small print examined closely.
Ask the print provider for the recommended dimensions and file requirements for the exact product. Do not treat one resolution number as a universal rule for every printer, paper and viewing distance. Large wall displays and small photo books are different tasks. Confirm whether the lab will crop, resize or apply its own automatic corrections.
Low-resolution photo: before and result
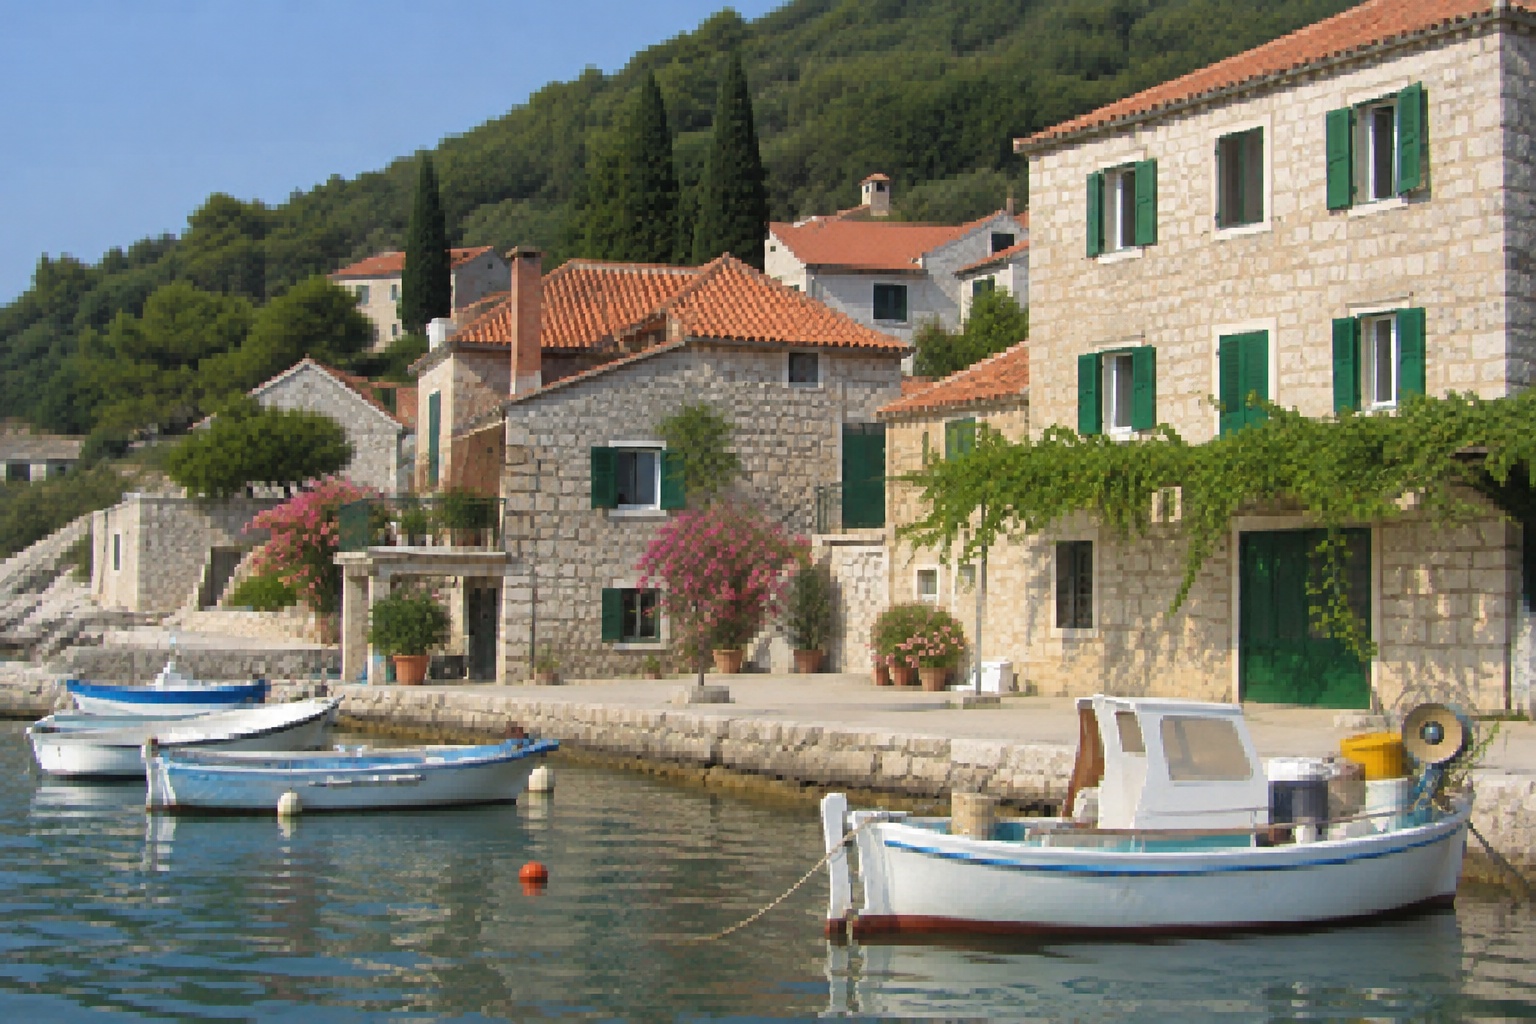
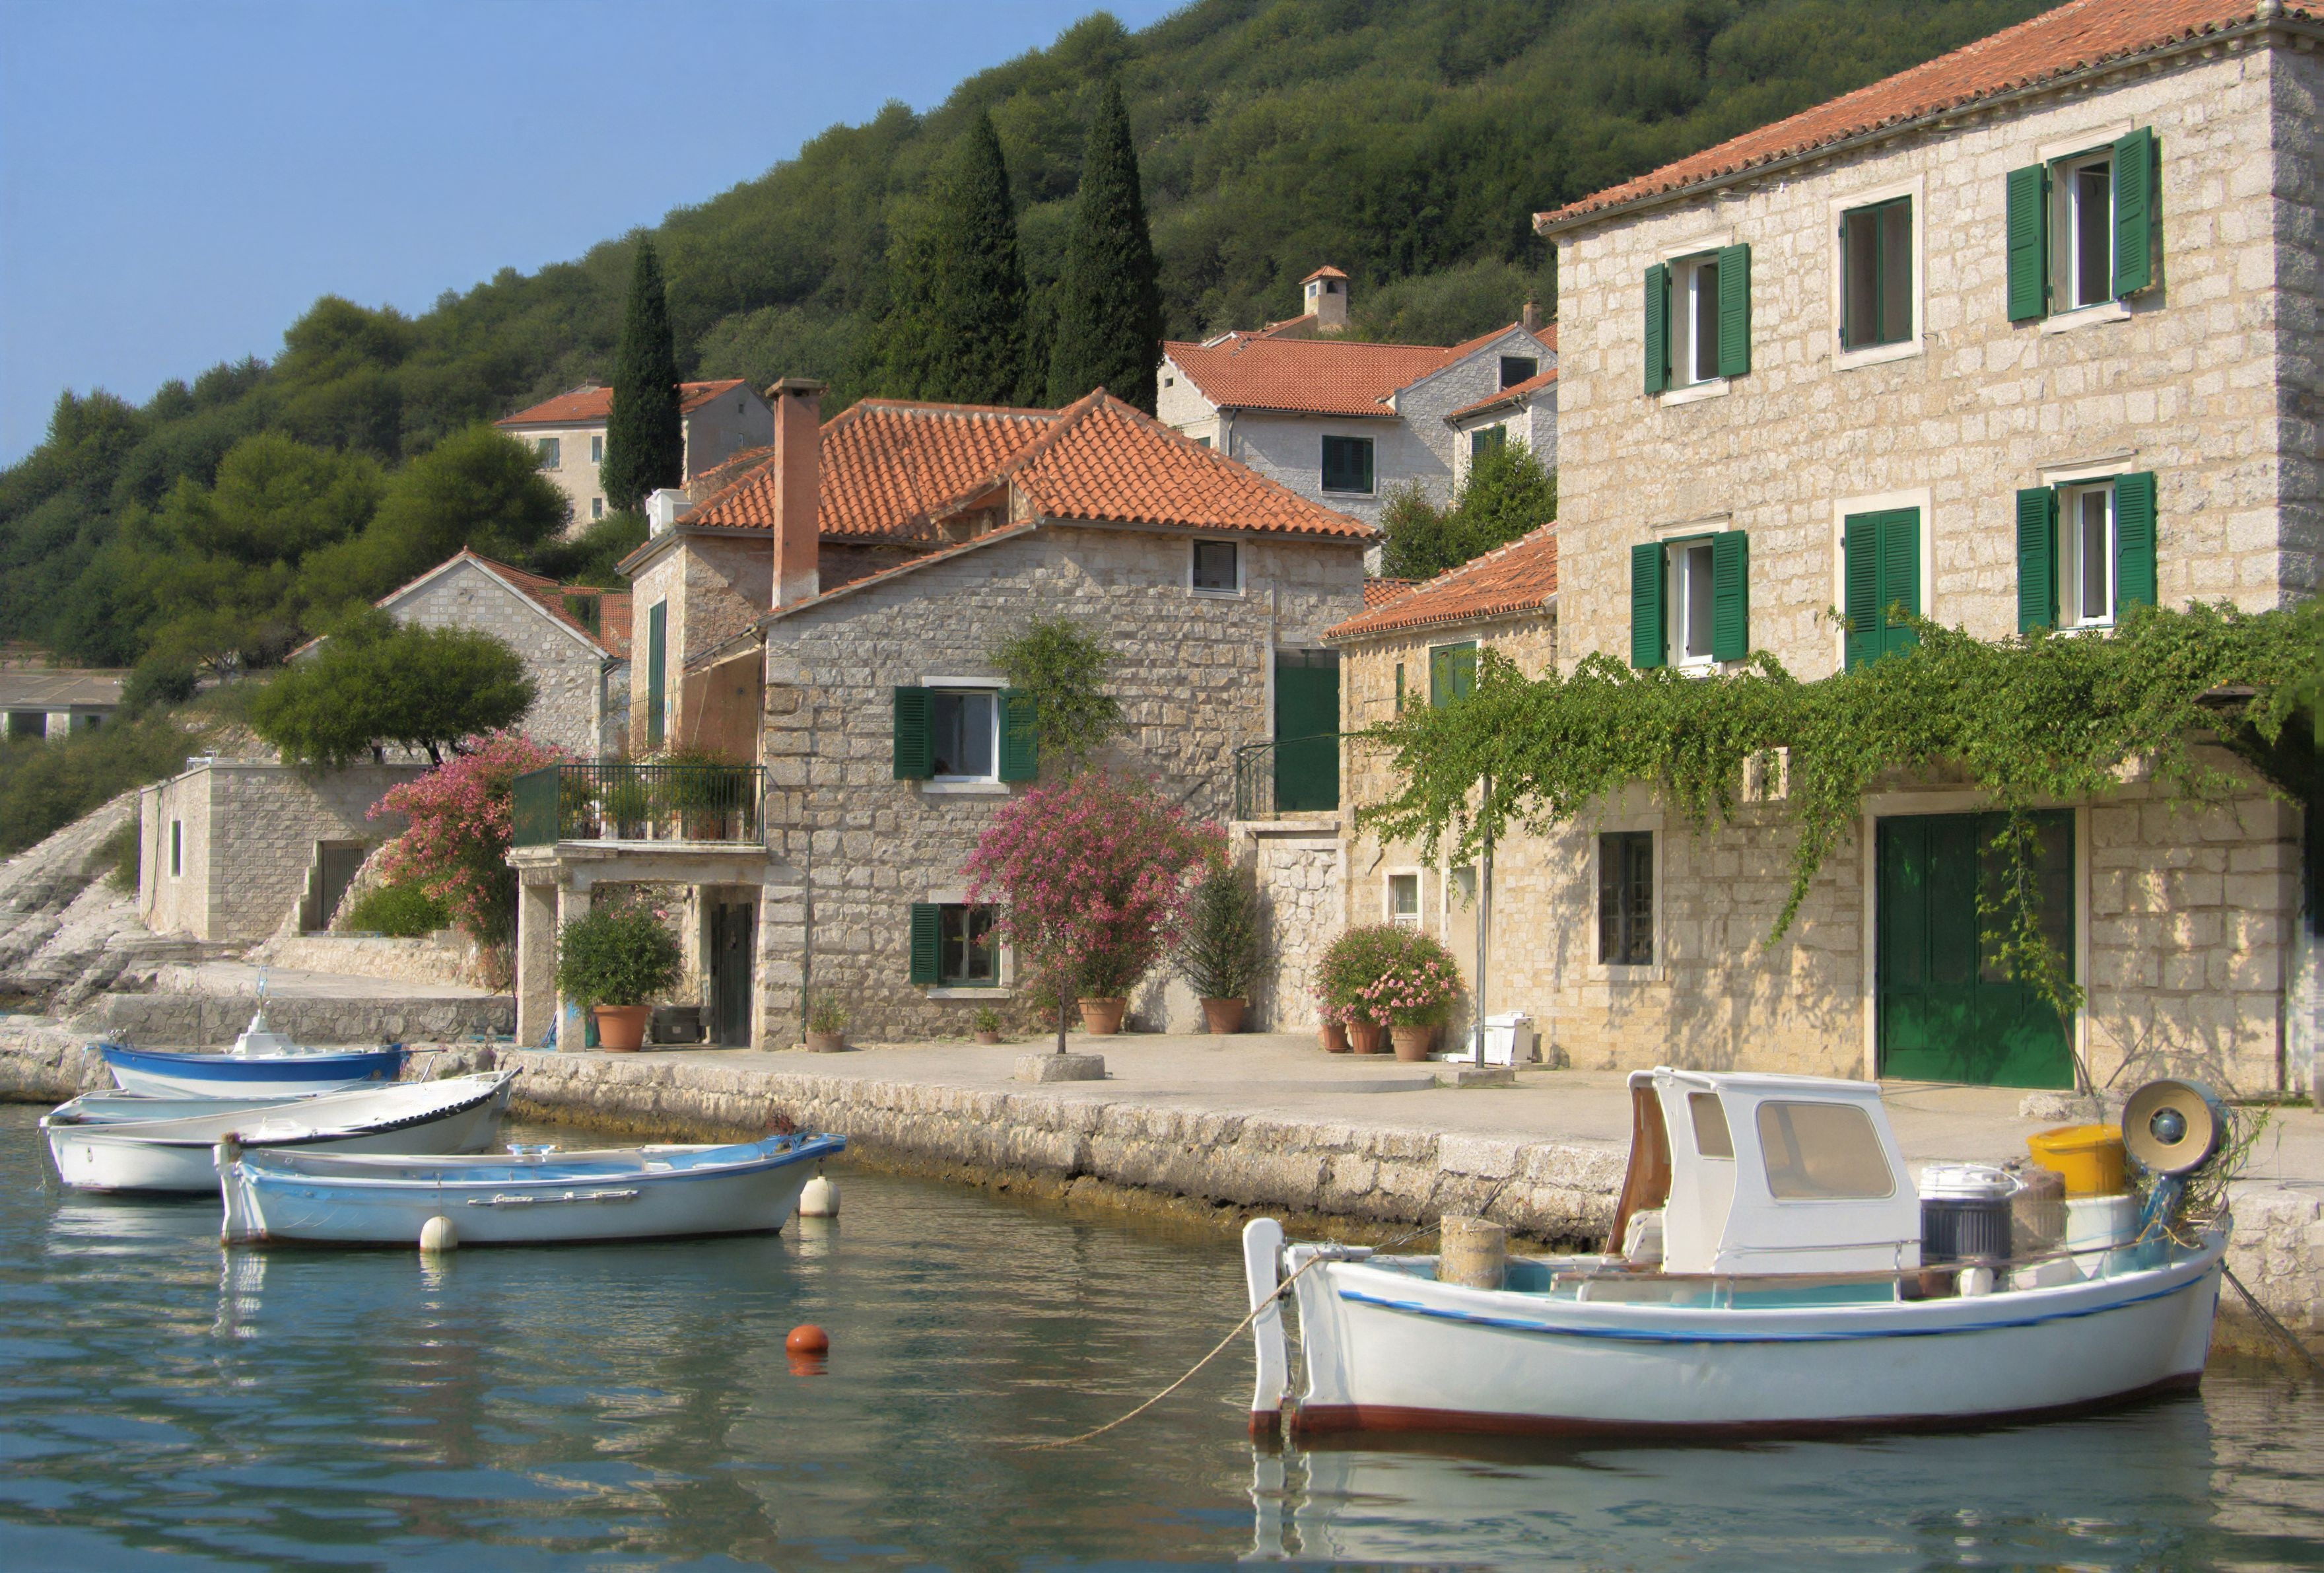
In this test, the source is 1536 × 1024 pixels and the downloaded result is 3520 × 2382 pixels. These are the actual dimensions of this example, not a promised output size for every upload. The small side-by-side preview keeps the composition easy to compare, but it cannot show every difference in a larger output. Open the result at full size and inspect architecture, water and roof tiles. More pixels are useful only if the file remains visually credible.
Prepare the best possible source file
Search for the original before enlarging a copy. A file sent by email as an attachment may be better than the same image saved from a chat preview. For a scanned print, a better scan can be more useful than aggressive processing of a tiny earlier scan. If the only file available is small, keep it unchanged and make a clearly labeled working copy.
Check the aspect ratio before selecting a print size. A square photograph cannot fill a wide landscape print without cropping or leaving borders. Decide which part of the picture matters: do not discover after enhancement that the intended crop cuts through a face or removes the reason for printing the photograph.
Avoid repeatedly resizing or saving the source at low JPEG quality. Those extra steps do not create useful detail and can introduce compression artifacts. Keep the edit chain simple enough that you can explain it and return to the source if a result is unsuitable. For important orders, retain the original, the selected enhanced file and the final print-ready crop as separate versions.
How to upscale a photo for printing in Logowski
Open Photo Enhancement, upload the source and run the analysis. Check the suggested mode and choose the treatment appropriate to the problem. A file needing larger dimensions is different from one requiring significant cleanup, and a damaged historical scan may need restoration before it is ready for enlargement.
Review the credit total and sign in to start processing. When the result is ready, download it and inspect its actual dimensions. Do not infer a specific print size solely from a mode label. The source aspect ratio and the output produced by a particular processing path can affect the dimensions of the final image.
Compare the original and result at the same displayed size as well as at full resolution. This avoids confusing a bigger preview with a genuine improvement. In a landscape, inspect distant branches, lettering and masonry. In a portrait, prioritize recognizable facial structure and natural skin over a dramatic increase in apparent crispness.
Make the final crop for the print product only after choosing a satisfactory result. Confirm orientation, borders and any required export settings with the print provider. Logowski enhancement does not replace a lab-specific prepress workflow, and you should not assume that an upload automatically preserves every source metadata field or print profile.
Check these details before placing a print order
Inspect edge halos and unusually smooth areas. An image may look impressive on a phone while showing plastic skin or invented texture in a print. A small proof print is a sensible way to evaluate an important enlargement, especially when the source is old, compressed or badly focused. Judge it under reasonable viewing conditions rather than only on a bright screen.
Check that the intended crop still has enough pixels. Cropping a large output down to a tiny face discards much of the benefit of enlargement. If a tight crop is the real goal, test that crop specifically and evaluate the face at its final intended size. Do not assume that a good full-frame preview guarantees a good detail enlargement.
Keep color expectations realistic. Screens emit light; prints reflect it, and the paper and printer affect the appearance. Ask the lab about its color workflow and automatic adjustments. For a color-critical commercial job, use an appropriate proofing process instead of relying on the appearance of one uncalibrated screen.
A repeatable process for multiple enlargements
Create groups by destination: album prints, photo-book pages, framed portraits or large display images. Files intended for the same product are easier to review together. Keep a record of required crop, orientation and final filename so that an approved image is not confused with an earlier test.
Logowski supports up to 500 photos per job, a ZIP of up to 250 MB and individual images up to 25 MB. Split a collection by use or client rather than uploading every available file into one indistinguishable batch. Preserve an untouched local source collection, and download approved results promptly rather than treating the service as your only archive.
Use a representative test set before processing hundreds of images. Include a portrait, a detailed scene and one of the poorest sources. If you discover that a particular type of file needs a different treatment, separate it before committing the whole job. The batch enhancement guide explains a broader review-and-download workflow.
Frequently asked questions
Does changing DPI increase photo quality?
Changing resolution metadata alone does not add image detail. You need to consider pixel dimensions, source quality, crop and physical print size. Ask the printer for the requirements of the specific product.
How many pixels do I need for an 8 by 10 inch print?
At a chosen target of 300 PPI, the calculation is 2400 by 3000 pixels. This is an example, not a universal printing requirement or a guarantee that the source contains enough detail.
Can a small thumbnail become a large sharp poster?
Not reliably. Upscaling can make a larger file and improve its appearance, but a tiny or heavily compressed source may not support a convincing large print. Test the result and consider a proof before ordering.
Should I crop before or after upscaling?
Decide the intended composition first, but retain the original. Check the actual final crop and output dimensions before printing. A severe crop may need its own test because it discards much of the image.
Can I upscale many photographs together?
Yes, you can upload a batch and review modes per file. Test representative sources first, especially when some photographs are clean and others are blurred, damaged or compressed.
Can enhancement restore unreadable signs or text accurately?
Do not rely on it for factual recovery. Reconstructed letters can be plausible but incorrect. Preserve the original and verify important text from an independent source.
Further reading: Adobe’s explanation of enhancement and Super Resolution provides background on enlargement as a photographic workflow, rather than a simple metadata change.
Check your own photographs before processing a large batch
Upload a small representative selection, run the free analysis and review the recommended modes. Processing requires sign-in; the credit total is shown before you start.
Enhance Photos View credits and plans