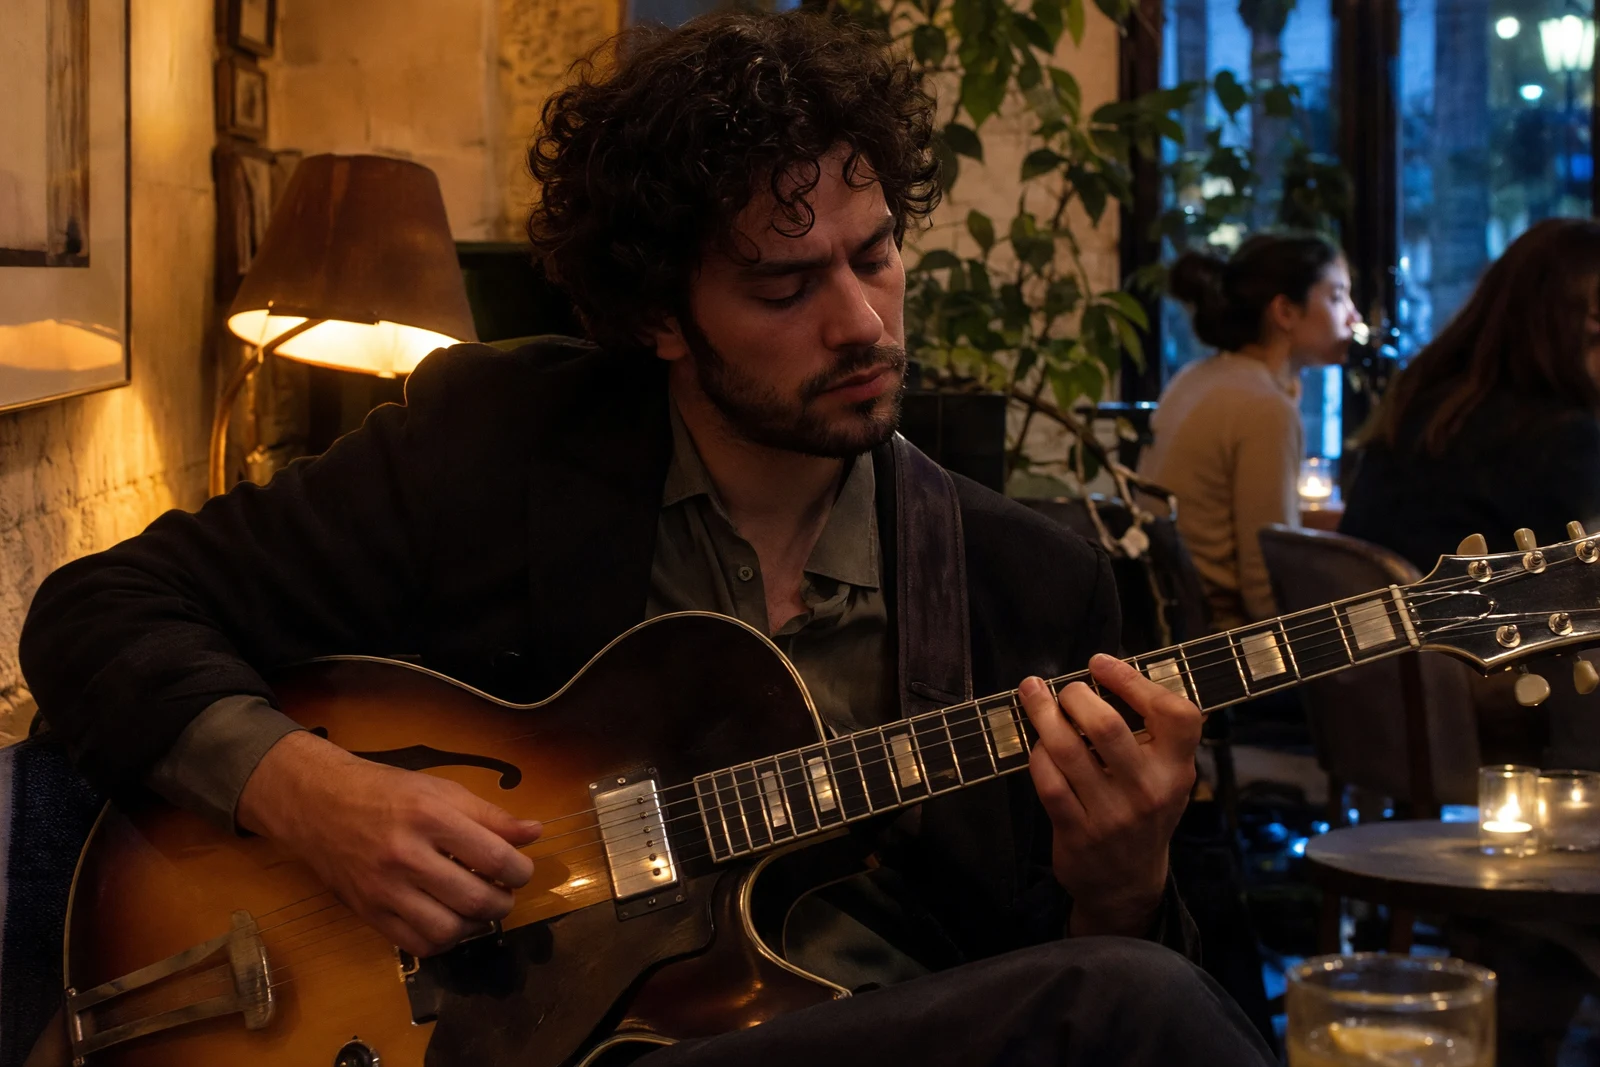
A grainy photograph can still be a good photograph. A memorable concert, a candid indoor portrait or a dimly lit family moment may contain noise because the light was limited. The goal of enhancement is not to remove every visible variation. It is to reduce distracting noise while keeping believable skin, hair, fabric and atmosphere.
This guide explains how to fix grainy photos with a controlled workflow. You will learn to distinguish noise from blur and compression, prepare a useful source, inspect an enhanced result and organize batches with different lighting conditions. The example is a generated low-light source processed through Logowski, not a stock “after” image selected to resemble it.
Understand what makes a photo look grainy
Digital noise often appears as fine brightness variations or colored speckles, particularly in darker areas. Low-light photographs can show it clearly when shadows are brightened. The subject may still be in focus even though the image looks rough. This is a different problem from motion blur, where edges can smear or appear doubled.
Film grain may be part of an old photograph’s original character. A scanned print can also show paper texture, dust and scanner artifacts. Removing all of these indiscriminately can make an old picture look unlike itself. Before processing, decide whether you are improving a modern low-light image or restoring a historical scan with several different defects.
Compression creates another type of damage: blocks, ringing around edges or patches of missing texture. A repeatedly saved JPEG can have noise and compression at the same time. If the source came from a screenshot or chat preview, look for an original before trying to repair the smaller copy. Better input can save more detail than a stronger treatment.
Grainy low-light photo: before and result
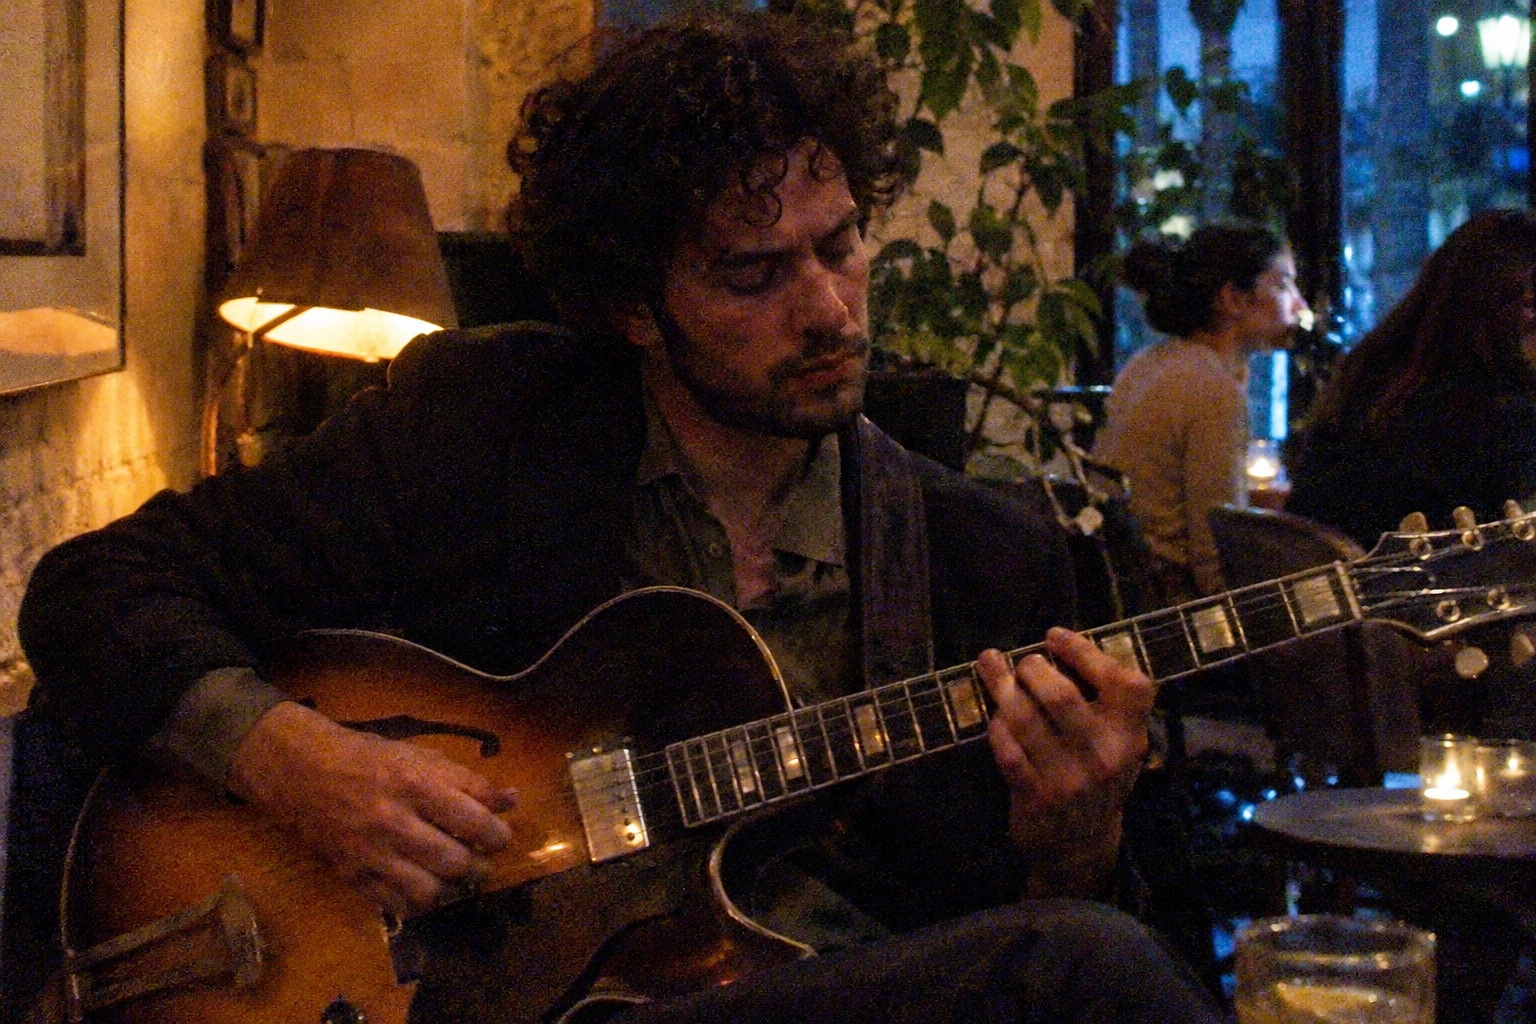
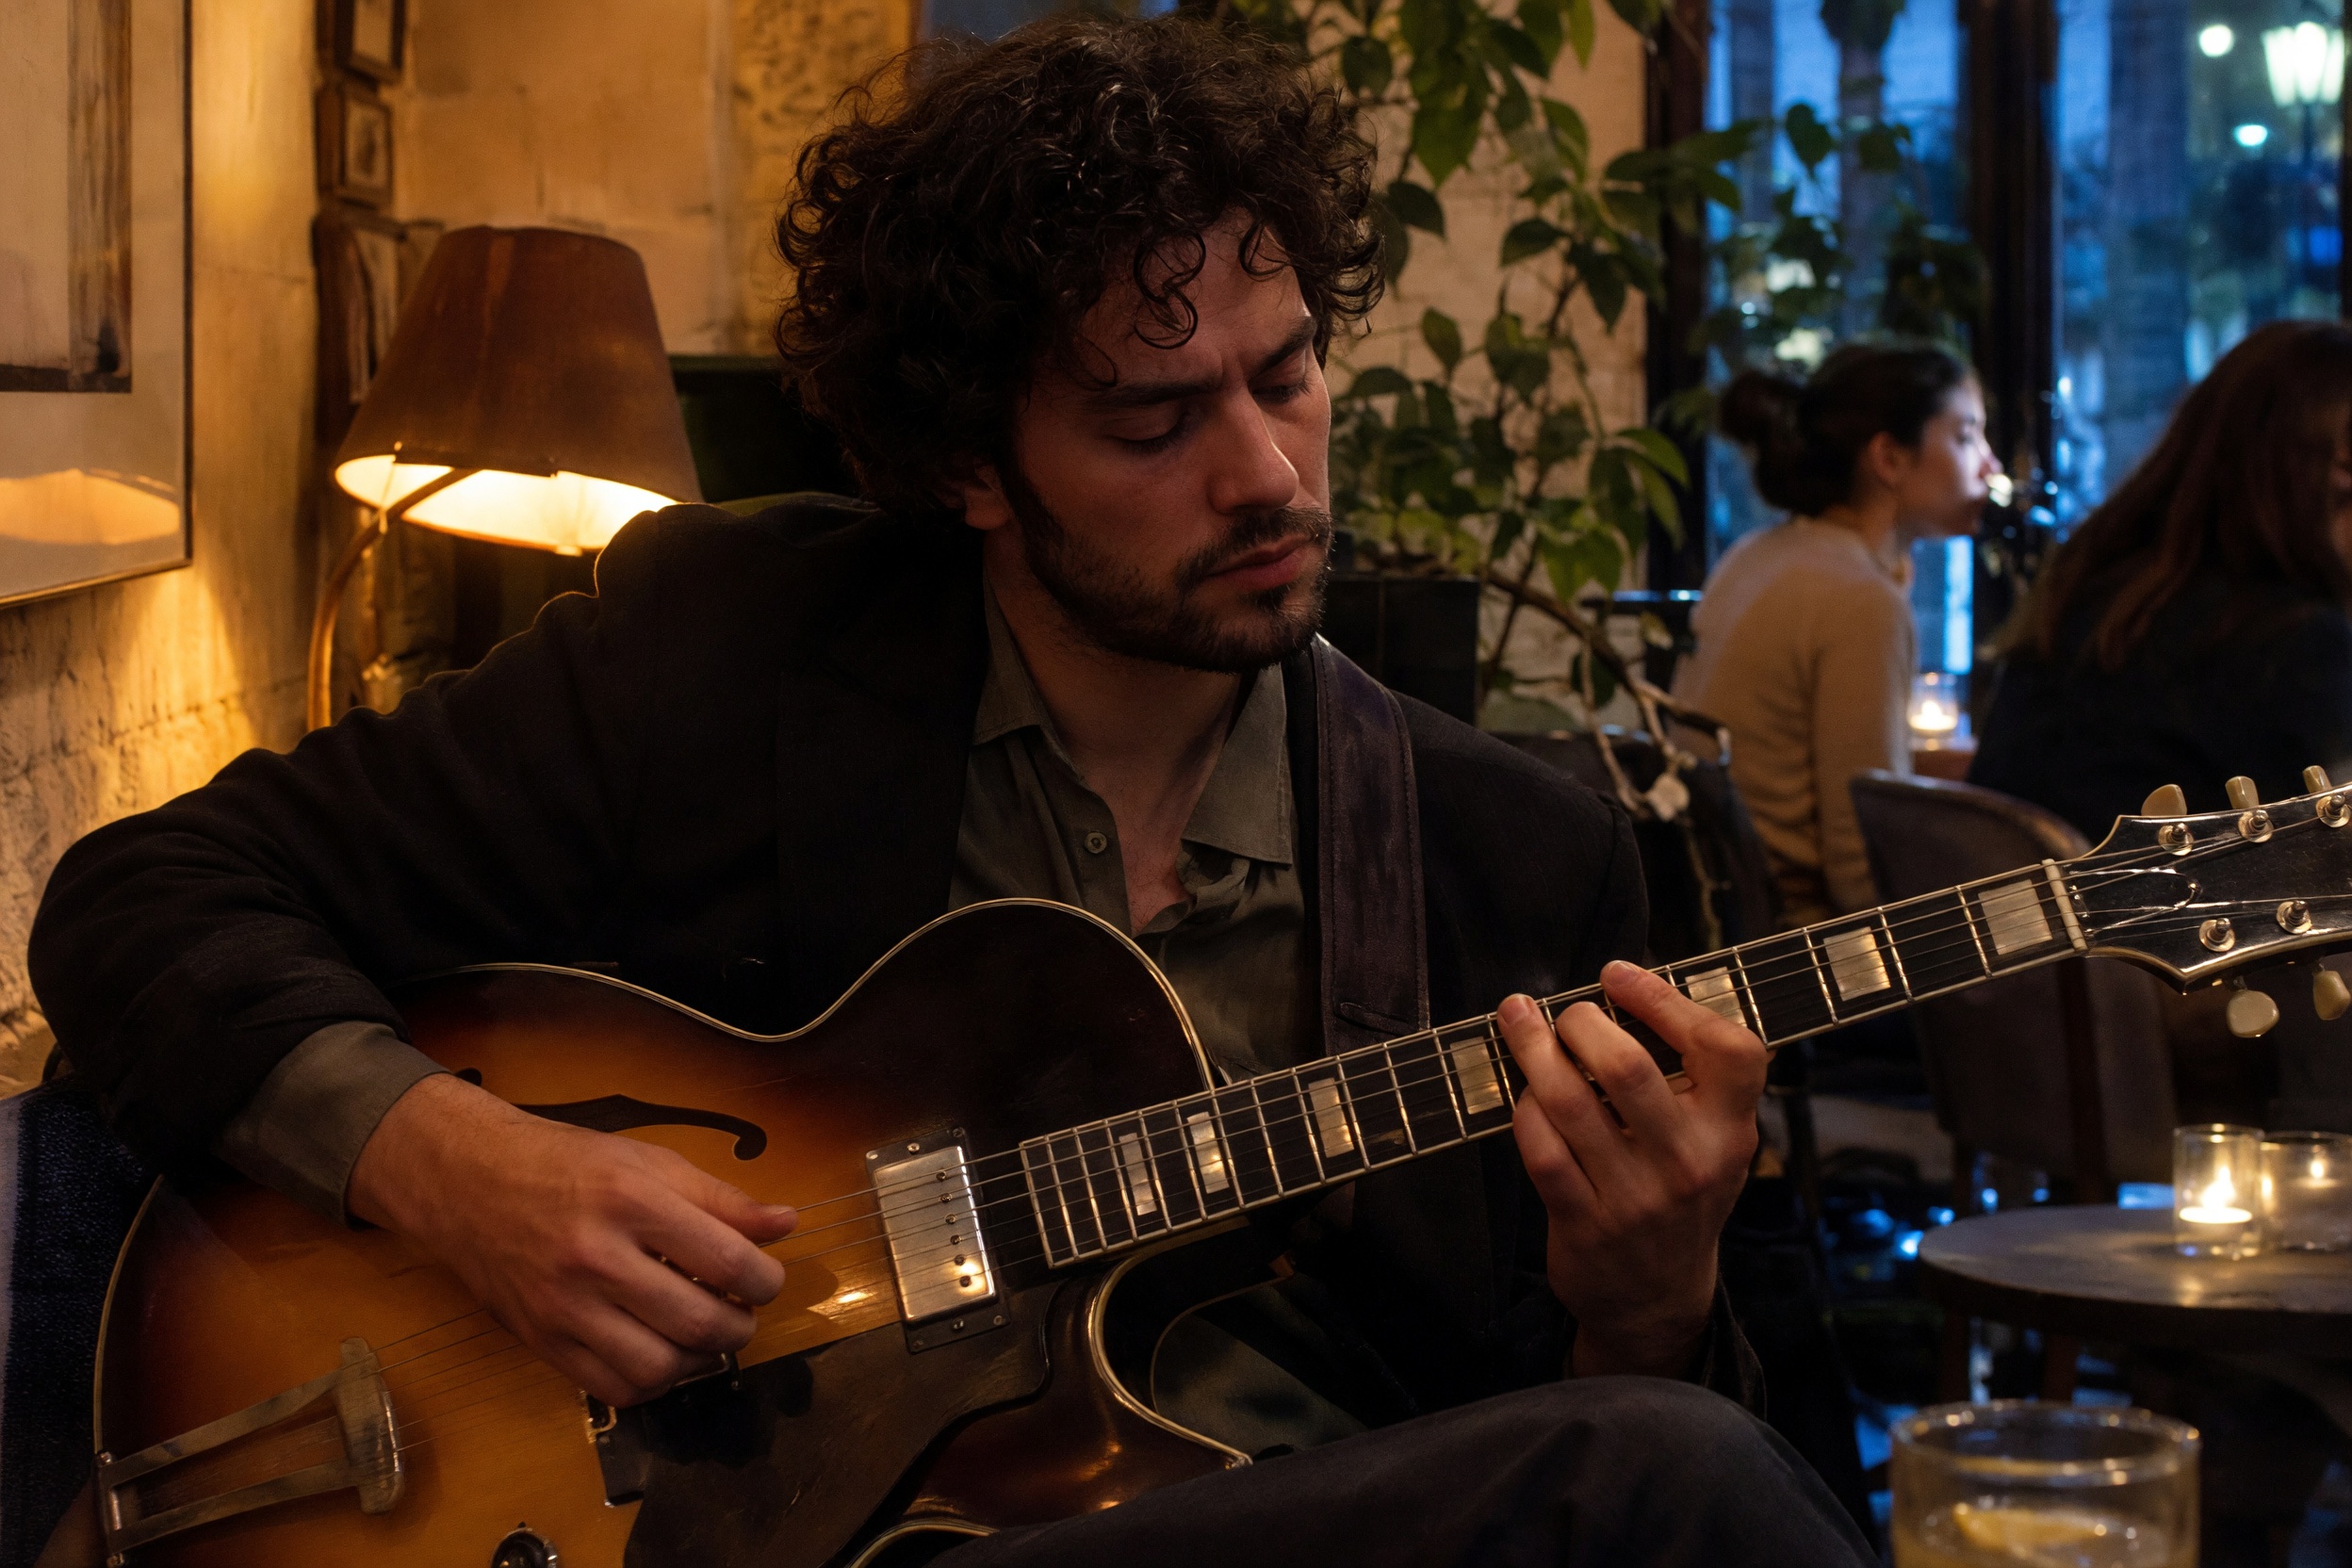
Inspect the result at full size and at a normal viewing size. A small preview can hide both noise and excessive smoothing. Look for a useful balance: the subject should be easier to read, but the atmosphere, identity and material texture should remain believable. Do not approve the result only because the background looks cleaner.
Get the best source and define the intended result
Use the largest original file available rather than a social-media export. Keep an unchanged copy before making edits. If you already adjusted the image heavily in another app, retain both the original and that edit so you can compare which source gives a better result. Do not assume the brightest version contains the most useful information.
Decide how much of the low-light atmosphere should remain. A concert photograph, a candlelit dinner and a studio portrait have different visual goals. Brightening every shadow can change the mood and reveal noise that was not distracting at the intended viewing size. A clean but flattened image is not necessarily an improvement.
Avoid aggressive sharpening before noise reduction. It can make noise and compression edges more visible, leaving later processing a more difficult task. Similarly, repeated enhancement can gradually produce smooth skin and synthetic-looking detail. A short, understandable edit chain is easier to evaluate and reverse than several opaque passes.
For professional work, choose a reference image that represents the desired appearance. This is a review reference, not a promise that automated processing can exactly match another camera or lighting setup. Agree on acceptable texture and brightness before committing an entire event or client collection.
A careful workflow for reducing distracting noise
Start with Photo Enhancement and upload a representative selection. Run the analysis and review the mode for each file. A noisy but well-focused portrait is not the same task as a heavily blurred crowd scene. The recommendation should help you organize the work, not replace your own check of the source.
Review the credit estimate before processing and sign in to continue. Use a small test set containing both a difficult file and a typical one. Include different skin tones, backgrounds and lighting if the final collection varies. A result that works for one brightly lit face may not generalize to every image from the event.
When the result is ready, compare it with the original at matching sizes. Begin with the important subject, then inspect difficult materials and darker areas. If the treatment changes the face or erases meaningful texture, it is not the right final result for that file, even if the image looks cleaner overall.
Download the version you approve and keep the source separately. If another attempt is needed, start from that source instead of the already smoothed result. For a picture dominated by missed focus or camera movement, use the blurry-photo workflow rather than treating every soft patch as noise.
Review skin, texture and lighting—not just smoothness
Check skin for a waxy or airbrushed appearance. Some natural variation should remain, especially in a candid photograph. Compare the shape of the eyes and mouth, hairline, age and expression. An automatic improvement should not make the person look younger or change distinctive features simply to create a more polished portrait.
Inspect fine materials such as hair, guitar strings, knitwear and patterned fabric. Overprocessing can merge separate strands, invent repetitive texture or make straight lines irregular. These areas are useful quality checks because an image can look pleasant in the center while small details elsewhere become less faithful.
Look at dark backgrounds for blotches, unexpected colors and unnatural gradients. Completely flat shadows can look as distracting as noise. If the original scene contains stage lights or mixed indoor lighting, do not expect every surface to become neutral white. Judge whether the lighting remains coherent with the setting.
Finally, view the image at its destination size. A little noise that is visible at extreme magnification may be irrelevant in a small album or web gallery. Excessive cleanup can cause more damage than the original noise. Choose the version that serves the picture, not the version that looks smoothest when enlarged far beyond normal use.
How to process a collection of noisy photographs
Separate the collection by lighting situation and source quality. A dark concert set, a bright outdoor set and old scanned prints should not automatically share one review standard. Test a few images from each group, then look for consistent handling of skin and texture before processing the remainder.
Logowski accepts up to 500 photos per job, ZIP archives up to 250 MB and images up to 25 MB each. Use meaningful job names, keep filenames understandable and download approved results to your own storage. Splitting work by event or client is usually easier to review than filling one batch with unrelated pictures.
Keep the report with your delivery notes and distinguish processing success from visual approval. A file can finish successfully and still require your attention because the lighting or texture is difficult. For a complete selection, review and download process, read the batch photo enhancement guide.
Frequently asked questions
Can all photo noise be removed without losing detail?
Not reliably. Stronger smoothing can also remove real texture. The goal is a useful balance between cleaner appearance and believable detail, judged at the intended viewing size.
Is grain the same as blur?
No. Noise or grain is a variation in texture; blur reduces definition or smears edges. Both can appear in one photograph, but they require different checks and may not improve equally.
Why does a cleaned portrait look plastic?
Too much smoothing or reconstructive processing can remove natural skin variation. Compare the original and reject a result that changes identity or texture beyond what is appropriate for the image.
Should an old film photograph have all grain removed?
Not necessarily. Grain can be part of its character. Decide whether the purpose is documentary preservation, a clean viewing copy or a more heavily interpreted version, and keep the source.
Can a noisy picture be made brighter as well?
Enhancement may adjust lighting, but brightness alone does not create reliable detail in dark areas. Review the result for blotches, color changes and loss of atmosphere rather than maximizing brightness.
Can I test analysis before creating an account?
Yes. Photo analysis is available before sign-in. Processing requires an account and available credits; check the selected modes and displayed total before starting.
Check your own photographs before processing a large batch
Upload a small representative selection, run the free analysis and review the recommended modes. Processing requires sign-in; the credit total is shown before you start.
Enhance Photos View credits and plans