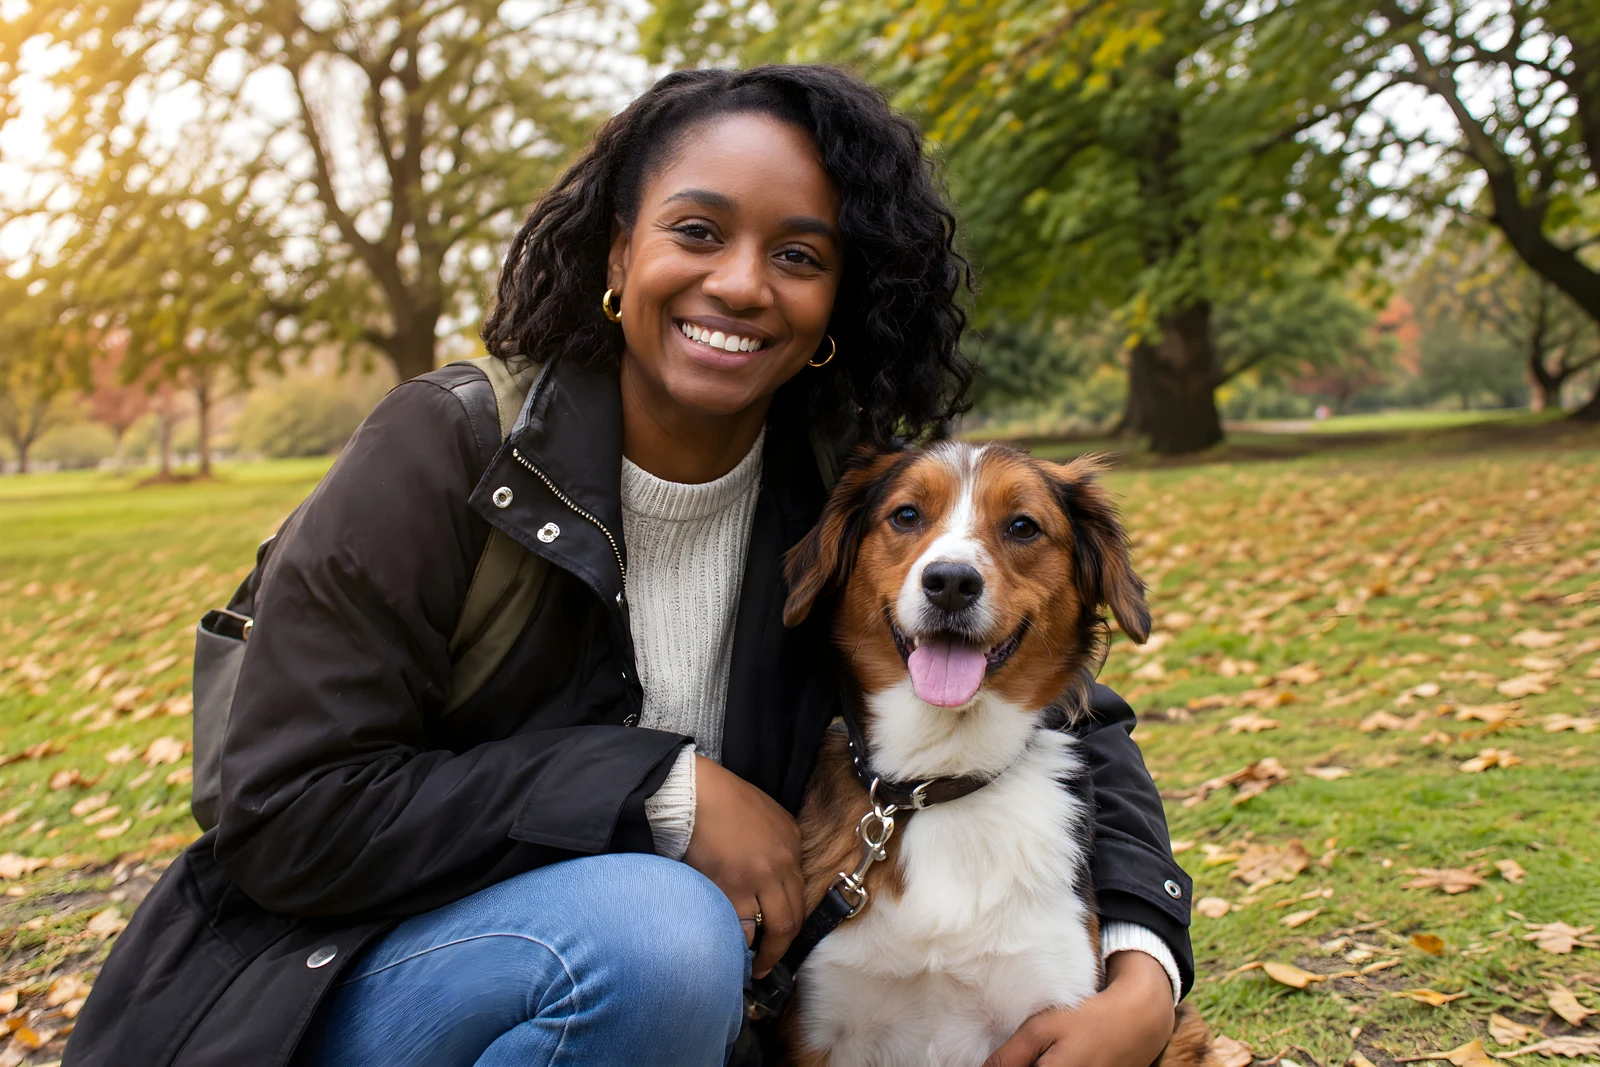
A blurry photograph is not always a lost photograph. A slightly soft portrait, a handheld image with mild camera shake or a small picture copied from a messaging app may become more useful after enhancement. The important question is what kind of blur you are looking at—and how much original information remains. A sharper-looking result is not automatically a more accurate record.
This guide explains how to fix blurry photos with realistic expectations. It covers diagnosis, choosing the best file, a repeatable enhancement workflow and checks that matter when processing many images. The example below uses a deliberately imperfect demonstration source and an actual result from Logowski, rather than an unrelated sharp photograph presented as an improvement.
First, identify why the photo looks blurry
Missed focus often makes an entire face look softly defined, while another part of the scene may be clearer. In shallow-depth-of-field portraits, the background is supposed to be soft: that is not necessarily a defect. Ask whether the subject you care about is out of focus before trying to sharpen every surface in the frame.
Motion blur has a different appearance. Moving hands, a running pet or camera movement during the exposure can create streaks or doubled edges. Mild movement may be improved, but a heavily smeared eye or unreadable moving sign may contain too little reliable information to reconstruct faithfully. Treat convincing new detail with caution.
Low resolution and JPEG compression can also look like blur. A small image enlarged on a screen may reveal blocky edges, ringing or a waxy face. This is not identical to a focus problem. If enlargement is the main issue, start with the guide to upscaling photos for printing and compare the source dimensions before choosing a treatment.
Blurry photo: before and result
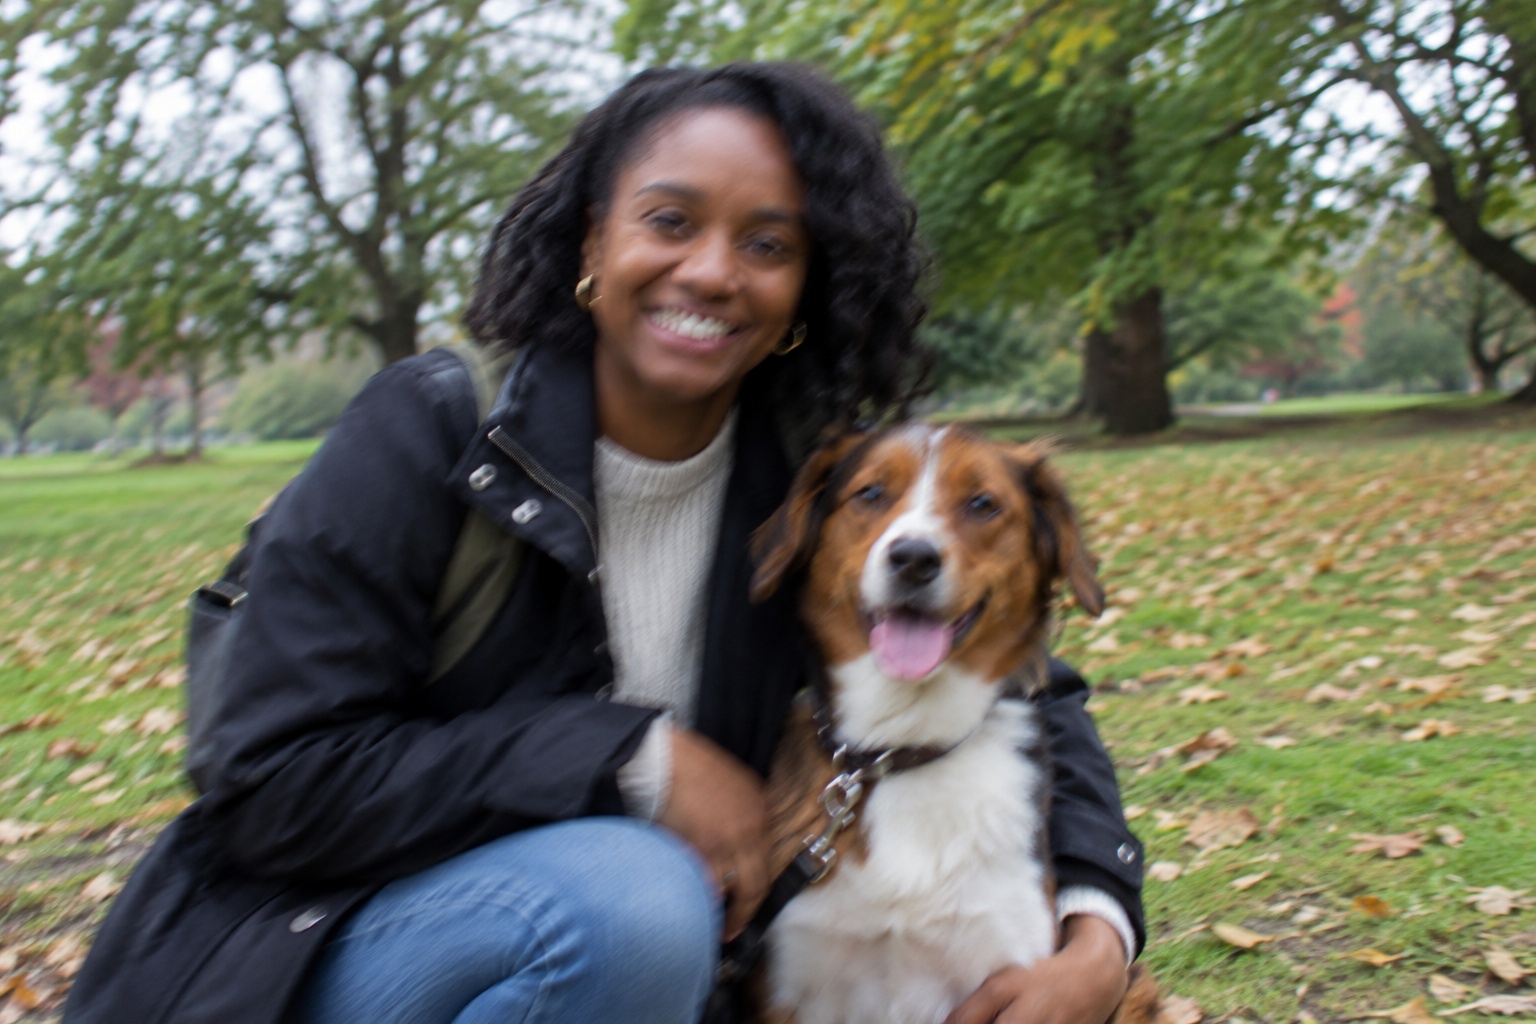
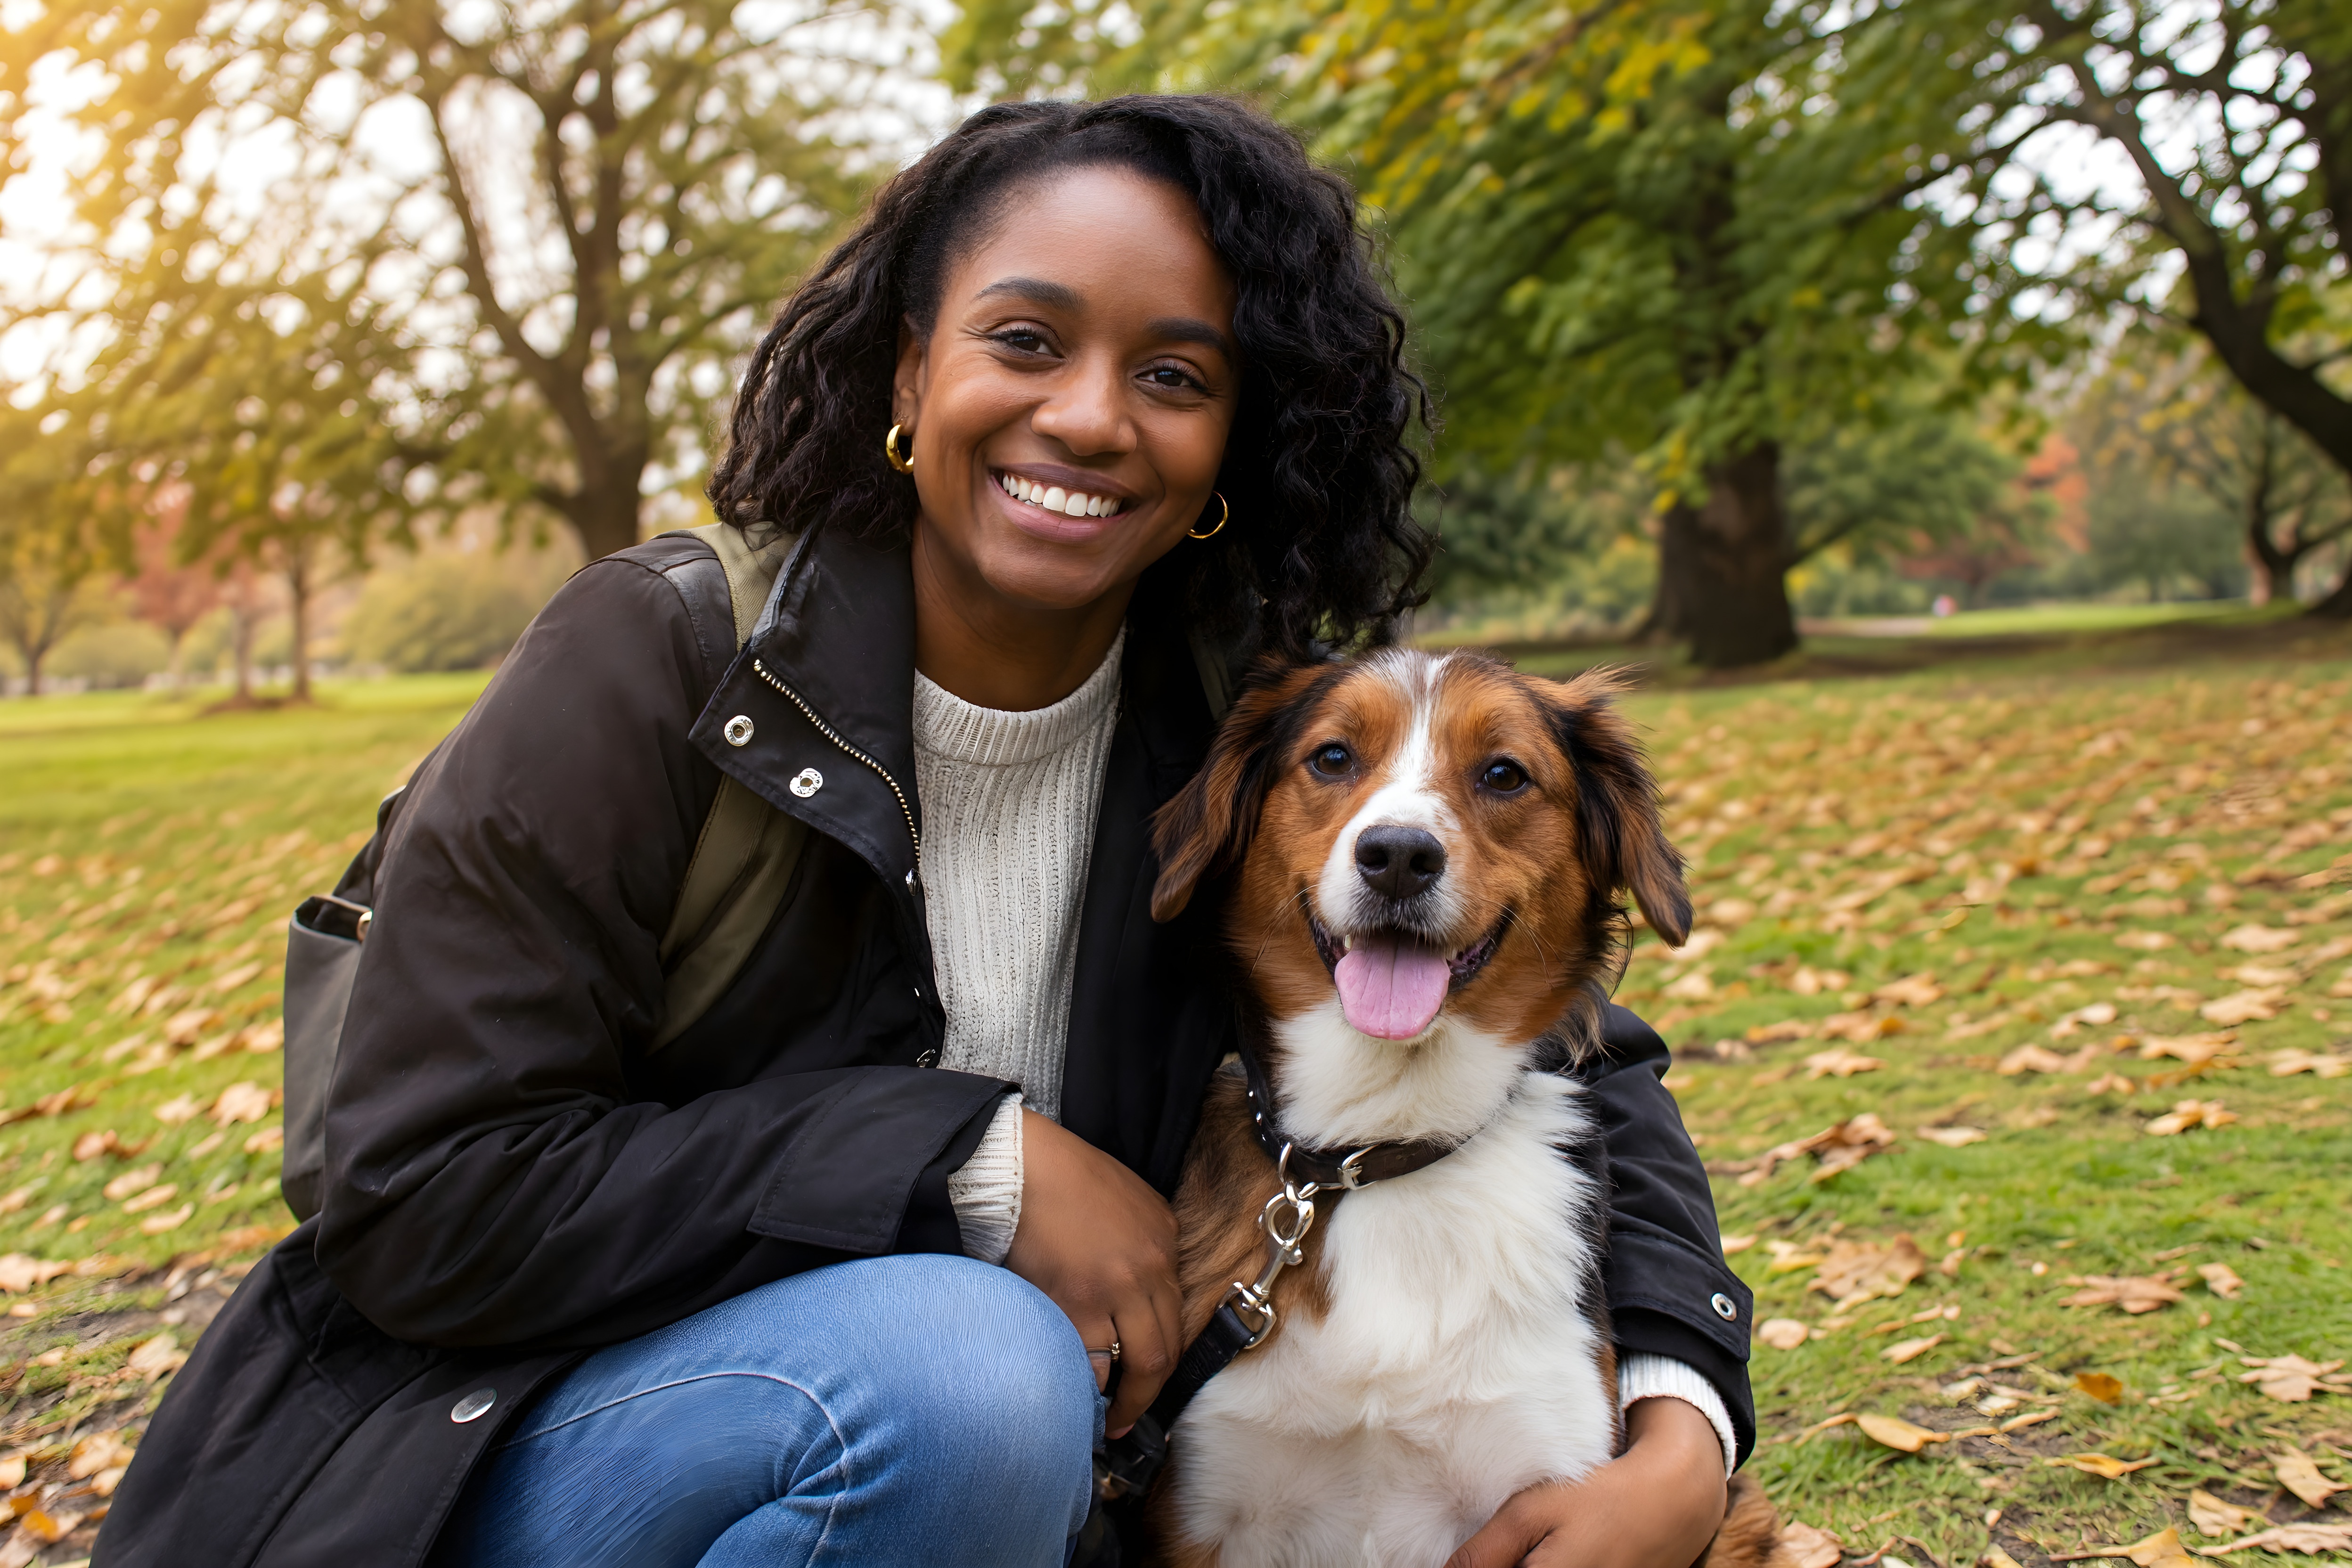
Do not judge this comparison only from the small preview. Open the result and look at the eyes, the outline of the dog and the transition between hair and background. The goal is a more useful photograph that still represents the same subject, not the strongest possible texture or the most dramatic contrast.
Find the best source before trying to unblur an image
Look for the original camera file, a full-resolution download or a copy from the person who took the picture. A screenshot of a social-media preview is usually a poor starting point when the original is available. Repeated downloads and messaging exports can discard useful information before enhancement even starts.
Keep the source unchanged and work on a copy. Do not enlarge the picture repeatedly in different apps before uploading it. Several stages of resizing and compression can create artifacts that later processing interprets as real structure. A single careful enhancement pass is easier to evaluate than a chain of unknown edits.
Decide the intended use in advance. An image for a small family album may be entirely acceptable even if it is not convincing as a large wall print. A website thumbnail, a memorial slideshow and an archival reference copy have different requirements. Inspect the output at the size people will actually see, as well as at full resolution.
A practical workflow for improving blurry photos
Start on the Photo Enhancement page and upload a few representative files. Run the analysis and review the suggested modes individually. The recommendation is a starting point, not a guarantee that a particular treatment will solve every kind of blur. A portrait, a landscape and a scanned document should not be judged by the same visual criteria.
Use enhancement when the main problem is a soft or low-detail modern image. If the picture also has physical scratches, tears or faded areas from a print, consider the restoration workflow instead. Do not choose a more expensive mode simply because it sounds stronger: compare the result against the task and the credit total shown before processing.
After analysis, sign in to process the selection. Check one finished image closely before running an entire collection. If the first treatment looks unnatural, return to your unchanged source for a new attempt rather than feeding the altered result through several more rounds. Repeated processing can gradually replace natural detail with consistent-looking but inaccurate texture.
Download an approved result and label it clearly in your own folders. Keep the original beside it, or preserve the original collection separately. For paid work, retain enough information to explain which file was supplied and which version was delivered. This makes later corrections much less confusing.
What to check in a sharpened result
Faces deserve special attention. Compare eye shape, teeth, hairline, age and expression. A sharp face that subtly changes the person is not a successful restoration of identity. Look at small faces in the background too; a pleasant main portrait can distract you from errors elsewhere in the image.
Examine edges for bright halos, doubled outlines and repeated patterns. Hair, fur, grass and fabric are useful stress tests because excessive processing can turn them into crunchy or painted textures. Smooth surfaces should not acquire random detail merely because the image now contains more pixels.
Be especially conservative with text, vehicle plates, jewelry and historical insignia. Enhancement is not a reliable way to establish unreadable facts. If the source cannot support a letter or symbol, do not treat a plausible generated shape as evidence. For records or legal use, preserve the unmodified source and describe any enhancement transparently.
How to handle a batch of blurry photos
Group images by problem instead of using one treatment blindly. Separate mild softness, strong motion blur, compression and genuinely low-resolution files. Test a few examples from each group, including the worst file and a fairly good one. A treatment that helps the worst image may overprocess an already acceptable portrait.
Logowski accepts up to 500 photos in one job, with a ZIP upload limit of 250 MB and up to 25 MB per image. Keep filenames readable and split very large collections into meaningful jobs. A folder called a wedding selection or a scan delivery is easier to review later than several unrelated collections combined only to fill the upload limit.
Use the file list to check individual statuses, download the results and keep the report with your delivery notes. Do not count a completed job as a quality approval. Completion means the processing finished; you still need to decide whether the photographs are suitable for your client, print or archive. For a broader production process, see the batch photo enhancement guide.
Frequently asked questions
Can a completely out-of-focus photo be fixed?
Sometimes its appearance can be improved, but severe blur may have removed the detail needed for an accurate reconstruction. No workflow can promise a faithful recovery of information that is absent from the source.
Is sharpening the same as increasing resolution?
No. Sharpening changes the appearance of edges and detail; upscaling increases pixel dimensions. A workflow may do both, but a larger file is not proof of a more accurate or more natural result.
Should I use restoration or enhancement for a blurry portrait?
For a modern photograph with softness or low detail, start with enhancement. For a damaged scan with scratches, fading or missing areas, restoration is usually the more relevant task. Inspect the recommendation and finished result.
Can I analyze photos before registering?
Yes. You can analyze photos before signing in. Sign-in is required to start processing and use available credits. Review the displayed credit total before continuing.
Why does an enhanced face sometimes look different?
Reconstructive processing can introduce plausible features when the source is uncertain. Compare identity and expression against the original. Reject an output that changes the person even if it appears sharper.
Should I sharpen a photo several times?
Repeated processing can compound artifacts. Keep the original, compare a single pass carefully and start a new attempt from the source rather than continually reprocessing an altered result.
Check your own photographs before processing a large batch
Upload a small representative selection, run the free analysis and review the recommended modes. Processing requires sign-in; the credit total is shown before you start.
Enhance Photos View credits and plans