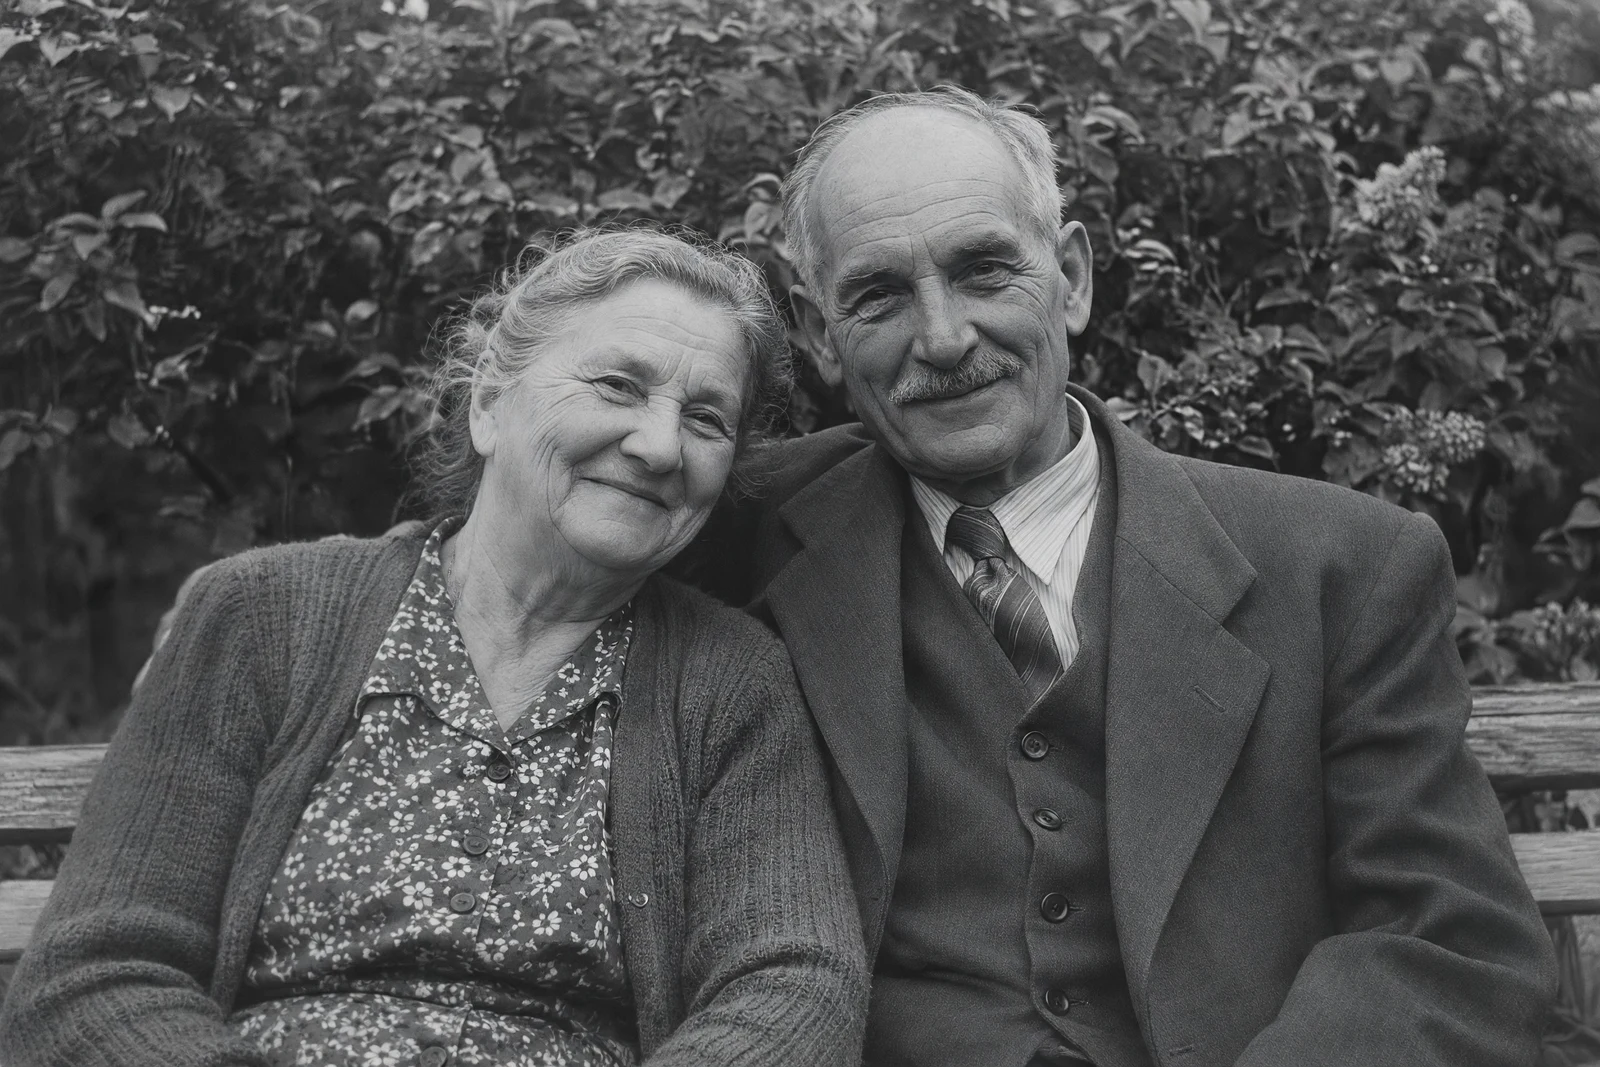
Scratches, folds and dust can make a treasured photograph difficult to see, but repairing them is not the same as making the whole image look new. A useful restoration removes distracting damage while retaining the people, composition and character of the source. The challenge is greatest where a scratch crosses an eye, a mouth or an important piece of clothing.
This guide explains how to remove scratches from old photos using a careful digital workflow. It covers preparing a scan, choosing restoration rather than simple enlargement and checking the finished result. The example uses a generated, damaged-looking source and a real Logowski restoration, so you can see the type of comparison to make with your own files.
Separate physical damage from original photographic texture
A scratch often appears as a bright or dark line that cuts across unrelated parts of the scene. A crease may have a bright edge and a shadow, while dust usually creates isolated marks. Paper texture, film grain and details in clothing belong to the photograph itself. Treating all visible texture as damage can erase the qualities that make an old print recognizable.
Look at the image before choosing a treatment. Is the main problem surface damage, fading, low resolution or a poor camera copy? Different problems can coexist, but they should not be confused. Enlarging a scratch does not repair it, and aggressive sharpening may make dust more prominent. If the image is mainly soft rather than damaged, read the guide to blurry photos.
Decide whether the goal is a clean family viewing copy, a client delivery or a documentary reference. For historical records, preserve the unmodified scan. A repaired area is an interpretation wherever original information is missing, even when the result looks convincingly photographic. That distinction matters more than the amount of visible cleanup.
Scratched old photo: before and result
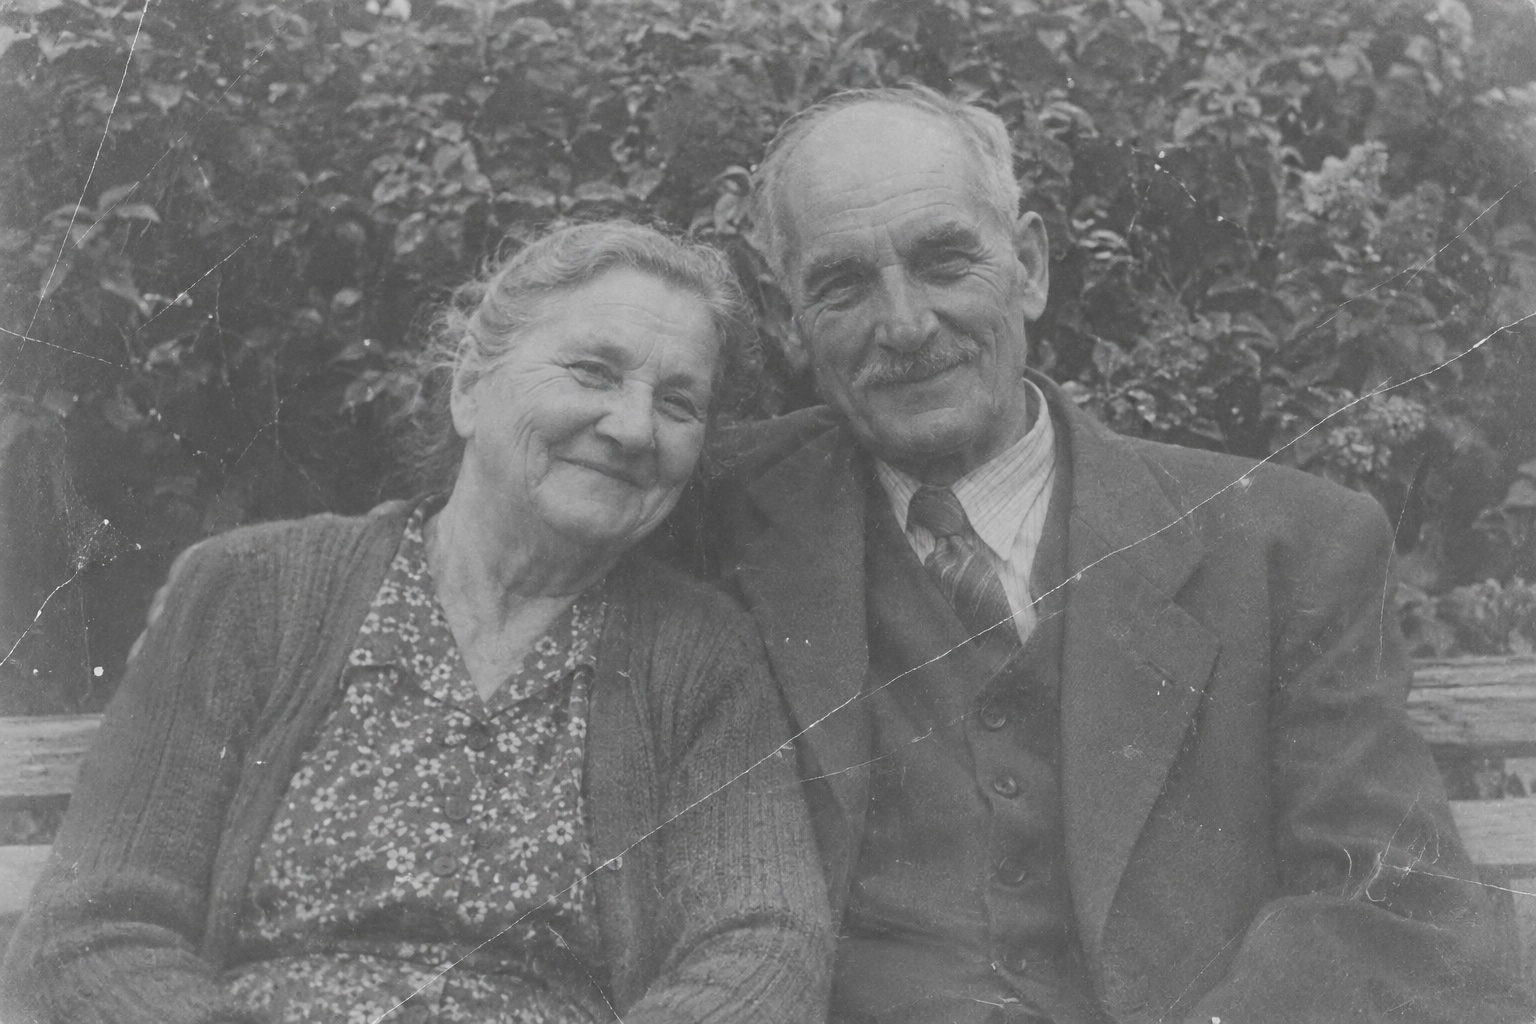
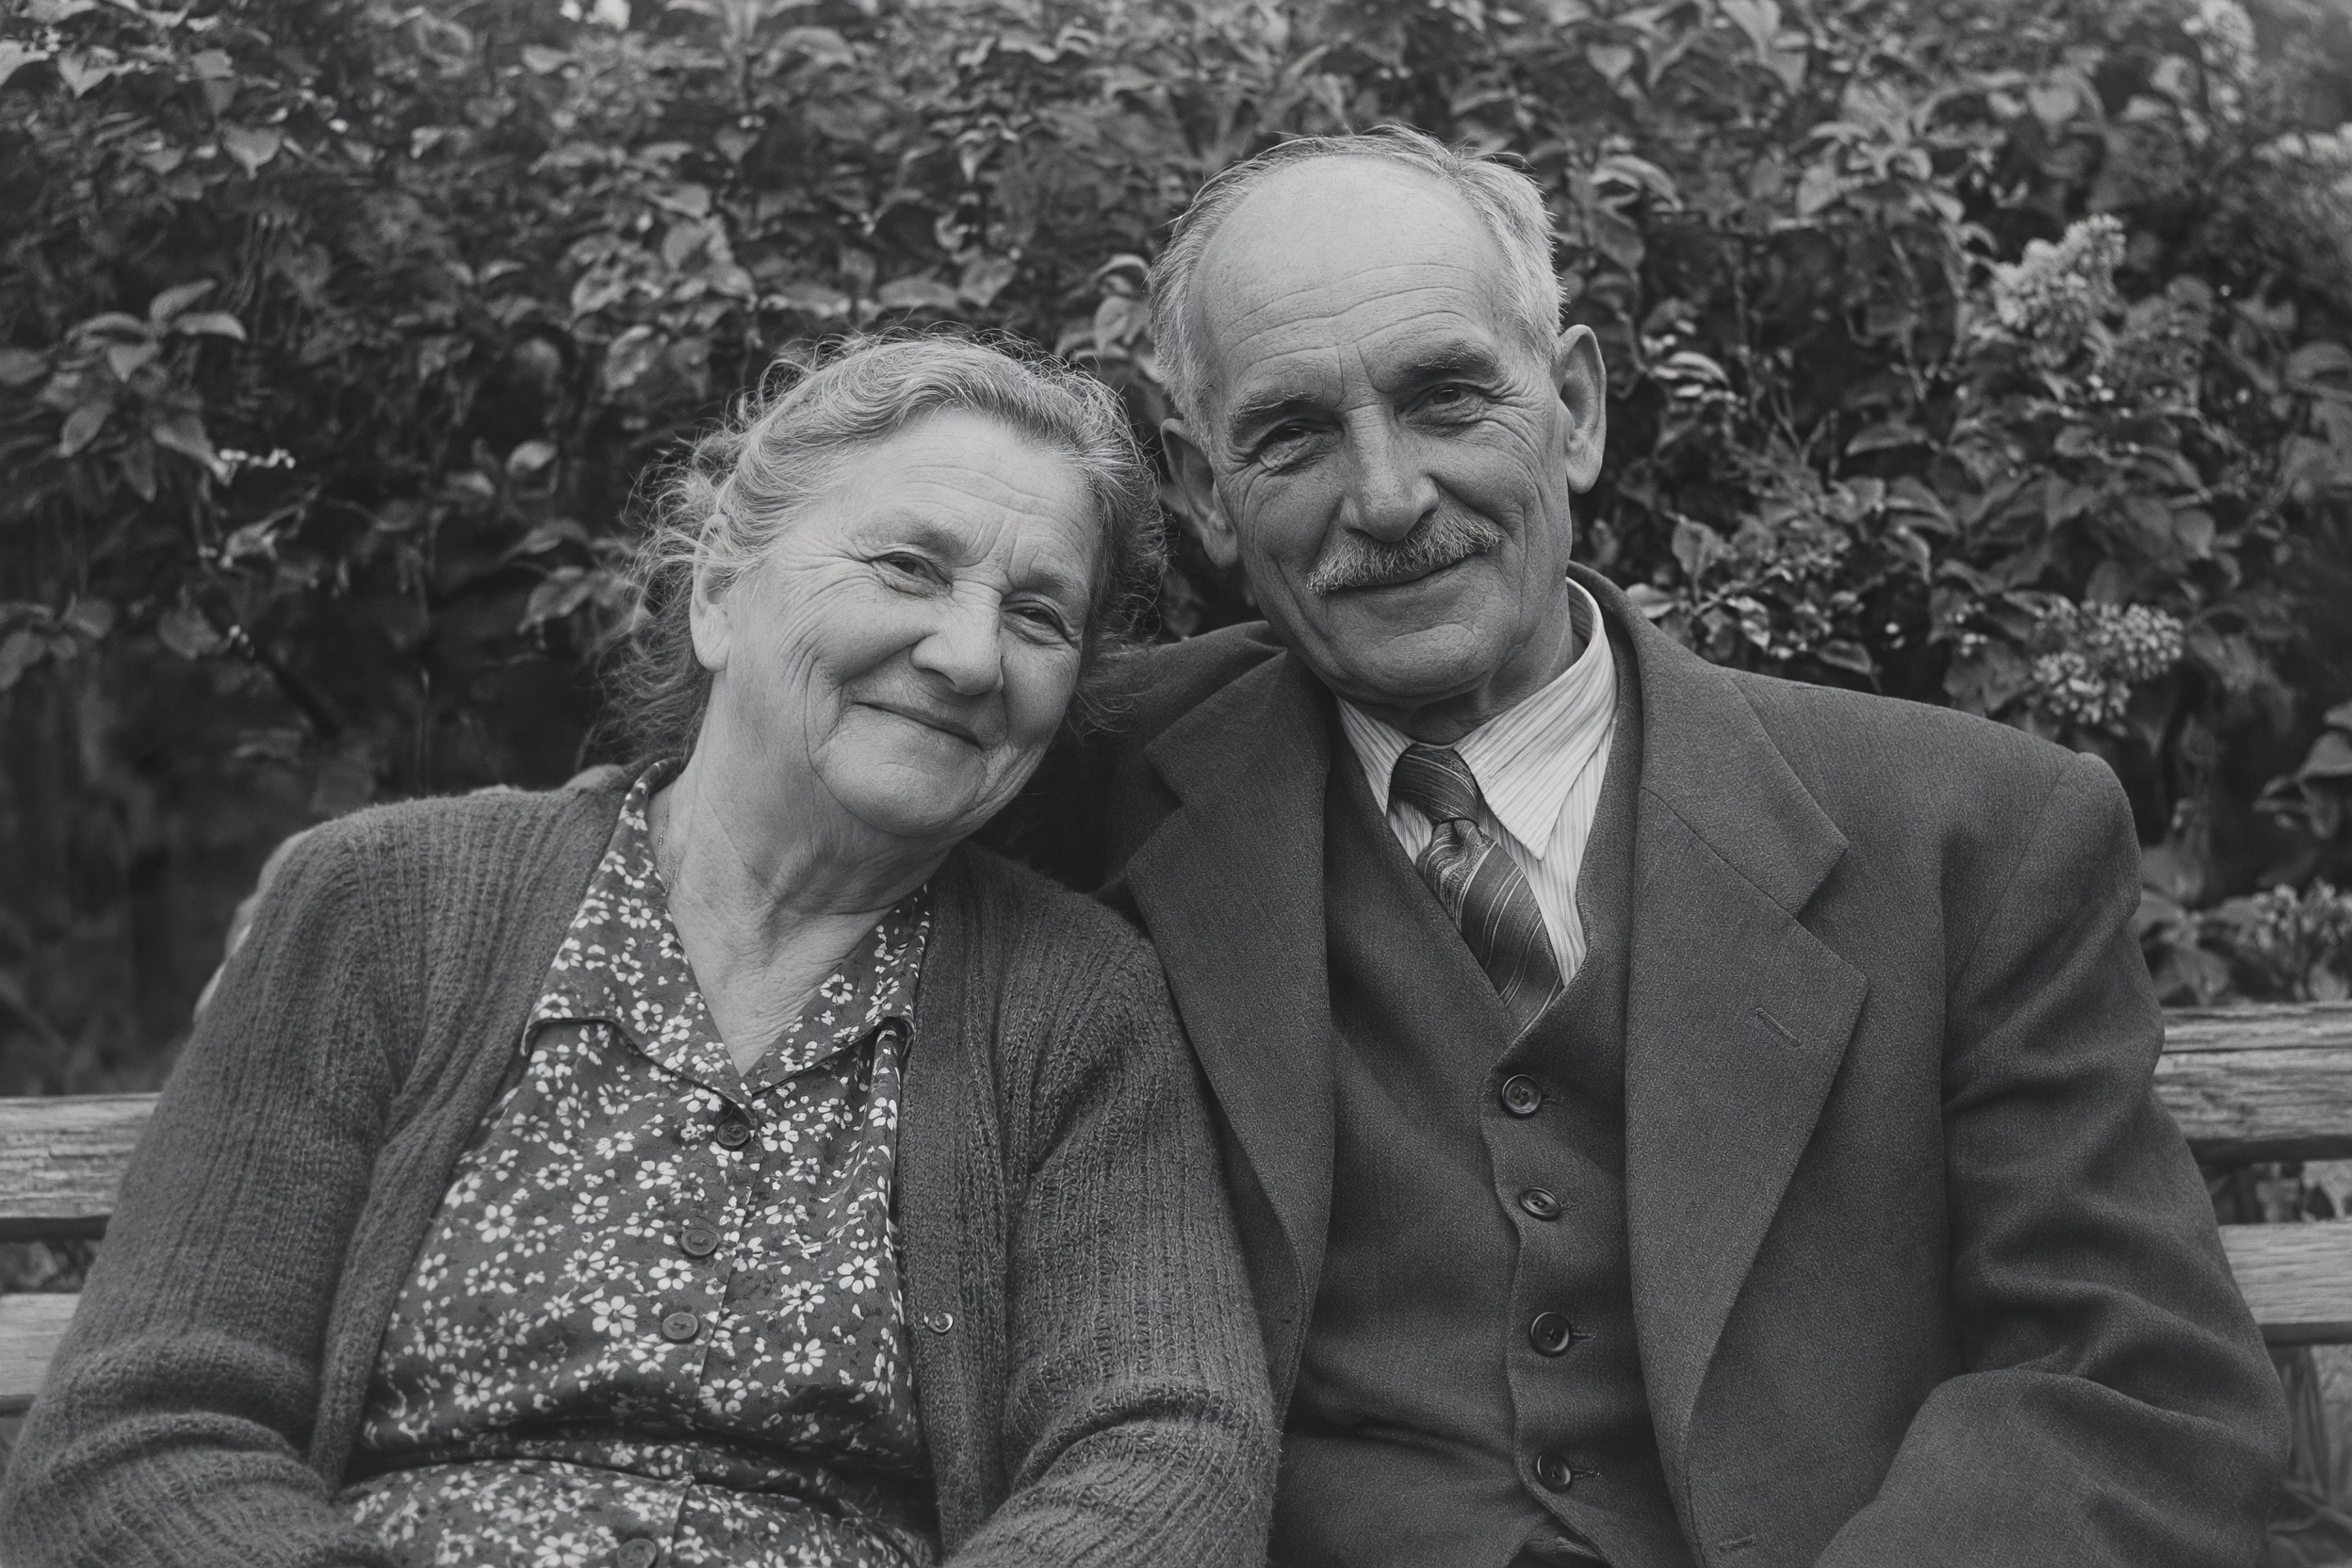
An attractive result is only the first check. Open the full-size image and inspect where the strongest damage crossed the subjects. Compare the shape of the eyes, the line of the mouth and the clothing edges. A repair that invents a different expression is not acceptable merely because the scratch has disappeared.
Prepare the source without risking the original print
Whenever possible, digitize the photograph rather than editing your only digital copy repeatedly. Keep the first scan untouched and name the working version clearly. If you already have a good scan, do not replace it with a screenshot or a compressed messaging copy just to make uploading easier.
Handle fragile photographs conservatively. Avoid using household cleaners, rubbing damaged surfaces or attempting to flatten a delicate print aggressively. If the object is valuable, unstable or historically important, seek advice from a qualified conservator before physical treatment. Digital cleanup can improve a copy; it does not repair the physical object.
A straight, evenly lit capture is easier to evaluate than a tilted photograph with reflections. If using a camera, avoid glare and make sure the whole print is in focus. Do not confuse scanner dust with damage to the photograph: checking the capture setup may save you from asking restoration to solve a defect introduced during digitization.
Keep enough of the frame to understand the image, including any historically relevant border or annotation. Store notes separately if you want a clean viewing copy. For sensitive family photographs or client material, obtain the necessary permission before uploading and maintain your own secure copy of the originals.
A careful restoration workflow
Start on Photo Restoration and upload a small selection. Run the analysis, then review the mode for each photograph. The recommendation helps organize a collection, but you should still check whether a particular file is heavily damaged, mostly faded or simply low resolution. Use restoration for damage rather than assuming every old image needs the same strongest treatment.
Decide whether to restore colors. If the photograph is black and white and you want a monochrome result, turn off the color option during review. Cleanup and colorization are different decisions: a photo can become easier to read without inventing colors that were never recorded. For a separate color version, see the colorization guide.
Check the displayed credit total before starting. Sign-in is required for processing, while analysis can be used beforehand. Process a test file and inspect it before committing a large client archive. A difficult scratch crossing a face may need individual judgment, even if a broad group of ordinary surface marks is handled well.
Download the chosen result and keep it distinct from the original scan. A useful naming convention identifies the source and the approved restoration without implying the altered image is an untouched historical master. If your client requests further changes later, start from the correct original rather than from an unknown edited copy.
How to inspect a restored photograph
Review damage locations first. Look for unfinished lines, smudged patches, repeated background texture and changes in small objects. Then review the whole image at a normal viewing size. A repair can be technically clean but visually distracting if one area is much sharper or smoother than everything around it.
Compare faces and hands carefully. Age, expression, hairline and proportions should remain credible relative to the source. Missing detail cannot always be recovered faithfully. A plausible new eye or hand is not evidence of the original appearance. If identity is important and the reconstruction is uncertain, keep a less aggressive version or plan manual review.
Check contrast in both bright and dark areas. Removing a faded appearance should not erase highlights or turn dark clothing into an undifferentiated black shape. Preserve enough tonal variation for the image to look like a photograph, rather than a cutout. An old print does not need modern commercial contrast to be a successful restoration.
For important delivery, record limitations openly. A note that a small damaged region has been reconstructed is more useful than an unsupported promise of perfect recovery. Keep your client’s preference about grain, borders and monochrome appearance with the job notes so that a later batch follows the same approach.
Restoring many scratched photos without losing control
Organize the collection by source and severity. Mix a few lightly damaged photographs with harder examples in your first test set. Review the hardest file and a typical file before processing the rest. It is often more practical to separate a handful of badly damaged portraits than to force an entire archive into an unnecessarily aggressive treatment.
Logowski accepts up to 500 photographs per job, a ZIP archive up to 250 MB and files up to 25 MB each. Keep meaningful names and download approved results to your own storage. The report can help track completion, but a successful processing status is not a substitute for reviewing historical or personal details.
For a photo lab or scanning business, define a review standard before offering large deliveries. Decide what counts as acceptable cleanup and which images need an individual quote or manual attention. The batch photo restoration guide covers preparation and quality control across a larger collection.
Frequently asked questions
Can deep scratches crossing a face be removed?
They can sometimes be repaired visually, but missing facial detail may have to be reconstructed. Inspect identity and expression carefully and do not treat invented detail as a faithful historical recovery.
Will restoration repair my physical photograph?
No. It produces a processed digital copy. Keep the original print safely, and consult a conservator if it needs physical treatment or is particularly valuable.
Can I remove scratches without colorizing the photograph?
Yes. Cleanup and colorization are separate choices. Review the color option before processing if you want to keep a black-and-white photograph monochrome.
Should I remove all grain from an old photo?
Not necessarily. Grain and paper texture may be part of the original appearance. The useful goal is to remove damage without making faces and surfaces unnaturally smooth.
Can I restore a collection in a ZIP archive?
Yes, within the displayed upload limits. Use a representative test set, review per-file modes and preserve the original collection independently of the processed results.
What should I do when a result changes a person’s appearance?
Reject it as the final version. Compare a different treatment from the original or arrange individual review. A clean-looking image is not sufficient if it changes identity.
Further reading: Adobe’s dust-and-scratch repair tutorial illustrates why local damage and whole-image cleanup are distinct restoration tasks.
Check your own photographs before processing a large batch
Upload a small representative selection, run the free analysis and review the recommended modes. Processing requires sign-in; the credit total is shown before you start.
Restore Photos View credits and plans